Last subject in VMware and 2023 has finally come to an end
VMware has officially announced that vCenter Server appliance is the default deployment of the vCenter server and Windows based vCenter Server will be discontinued in the next numbered release.
Only vCenter Server 6.0 and 6.5 versions can be upgraded directly to vCenter Server 6.7 version
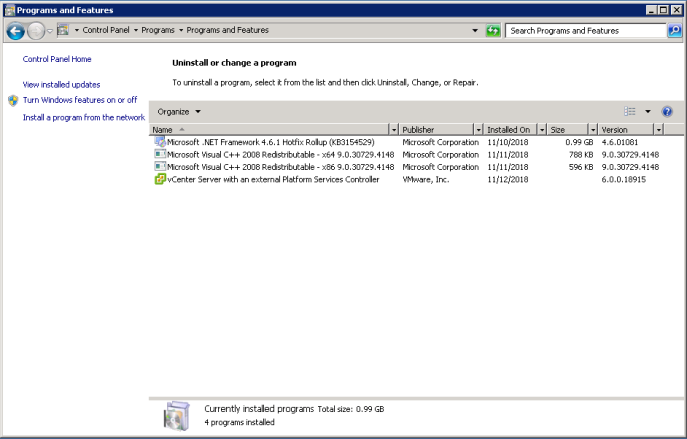
VMware vCenter Server (VCS) Converter Appliance which enabled users to migrate from vCenter Server for Windows and an external MS SQL database to a VCSA with an embedded vPostgres database.
Let’s get to it
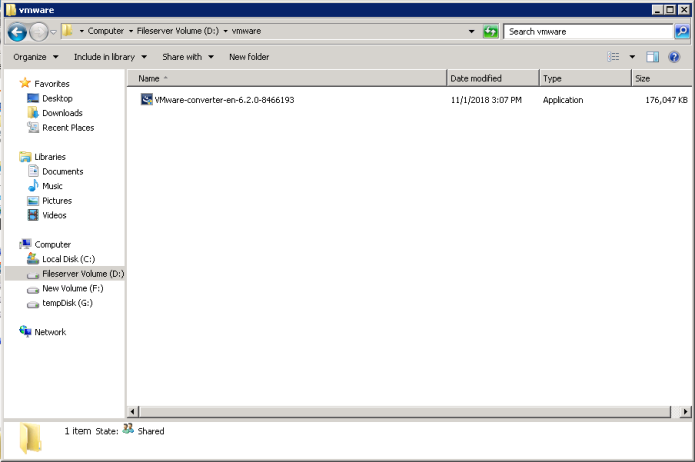
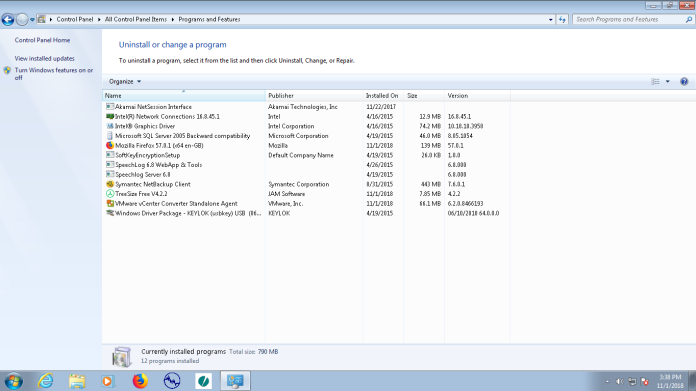
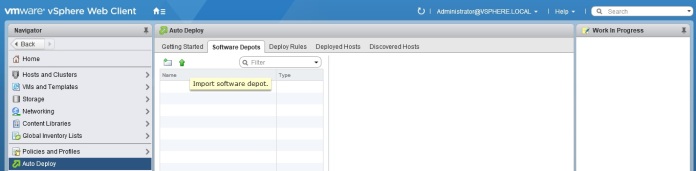
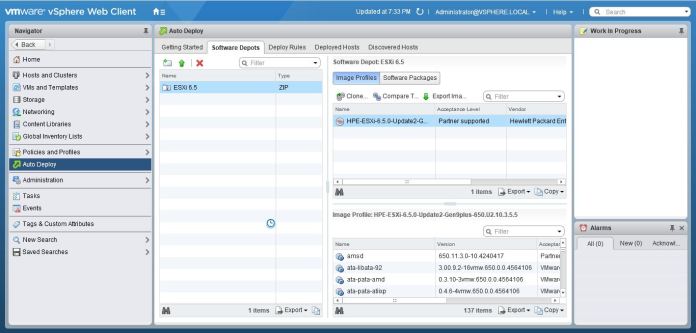
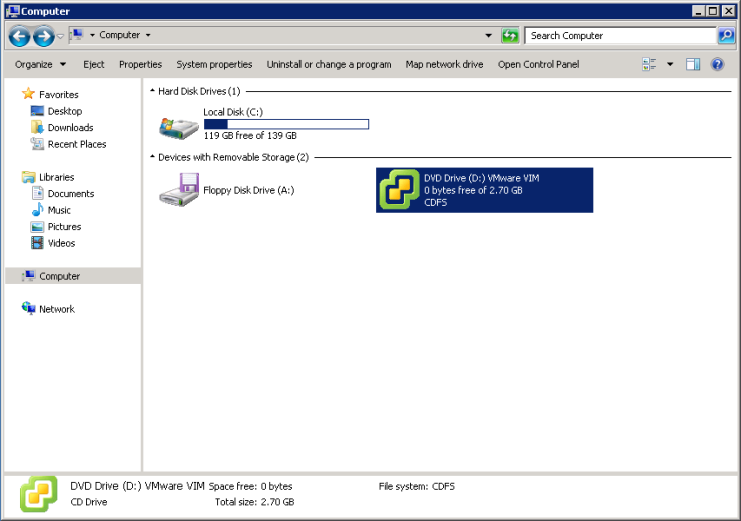
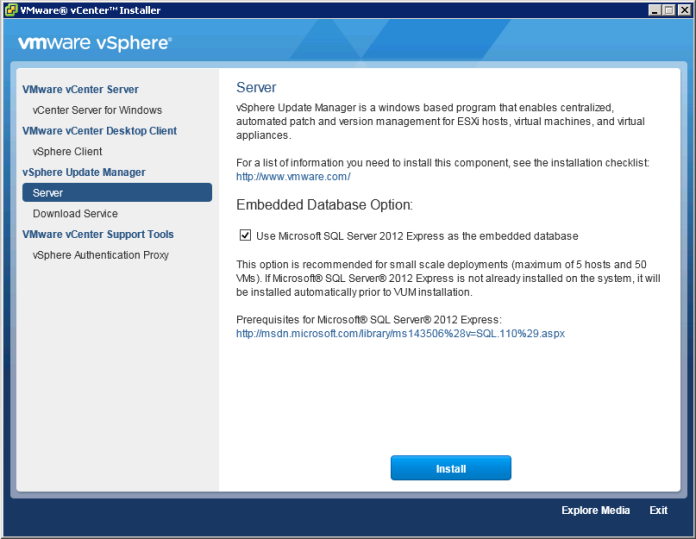
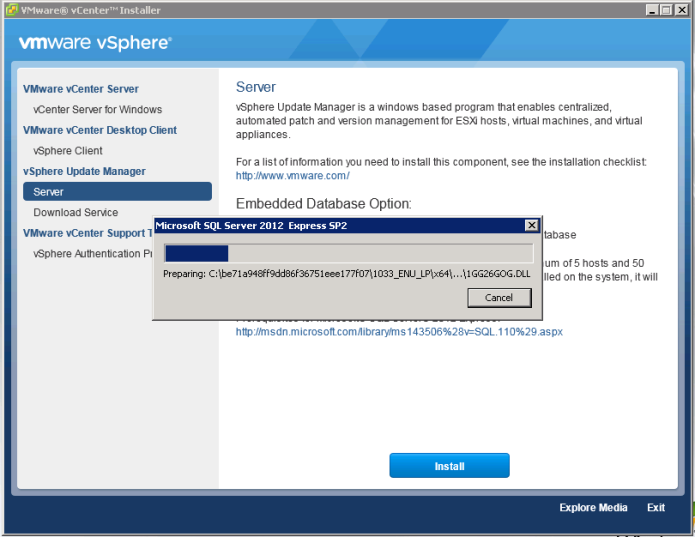
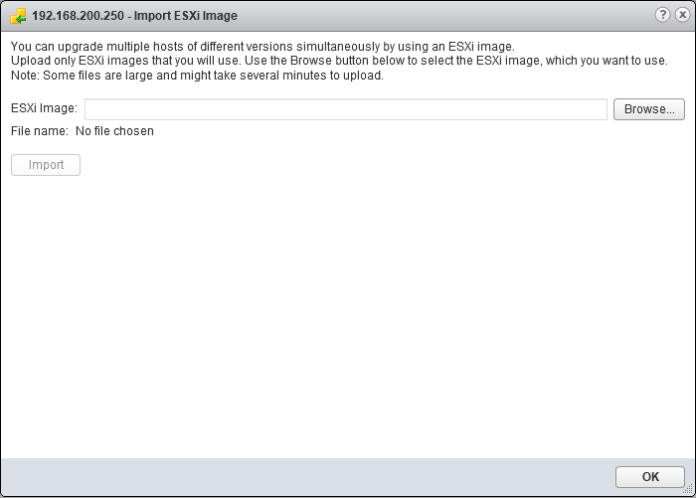
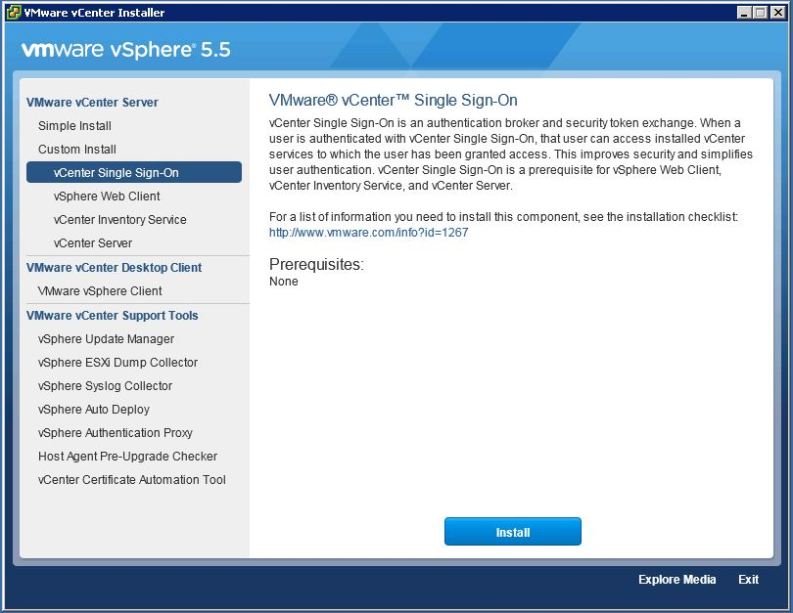
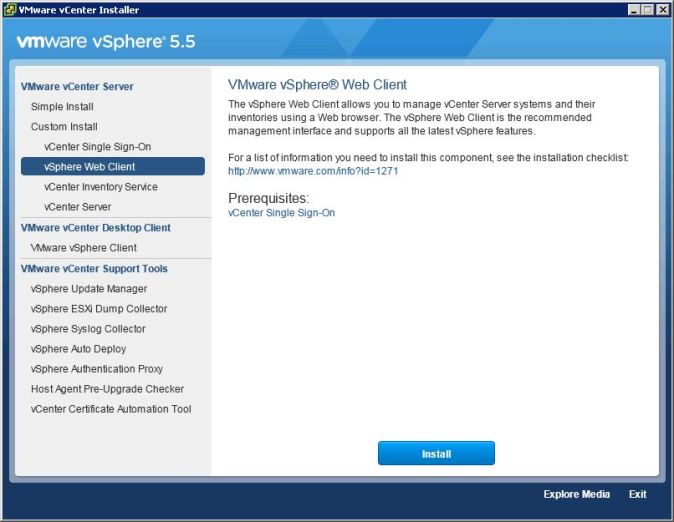
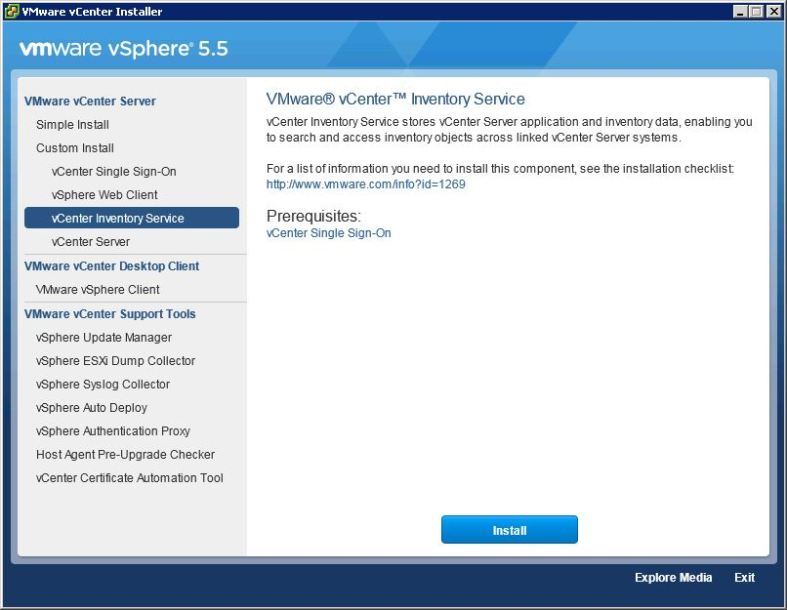
Here is tool which is part of the new VCSA vSphere 6.0 Update 2m

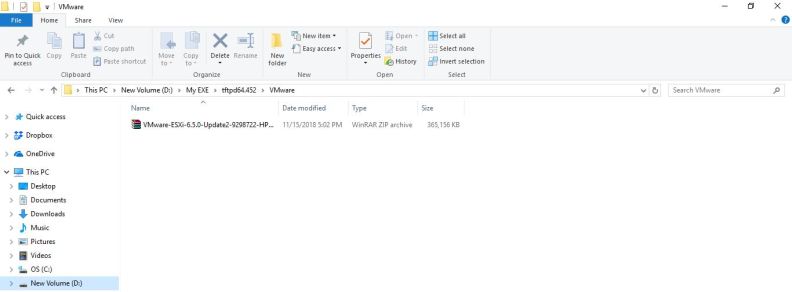
i will unzip it

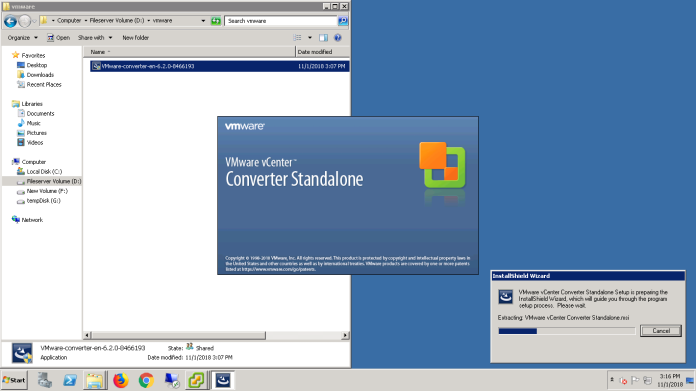
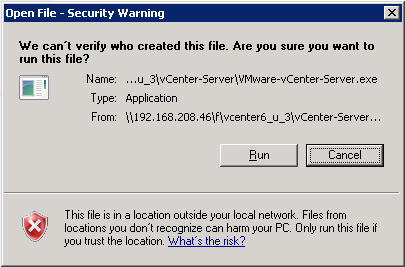
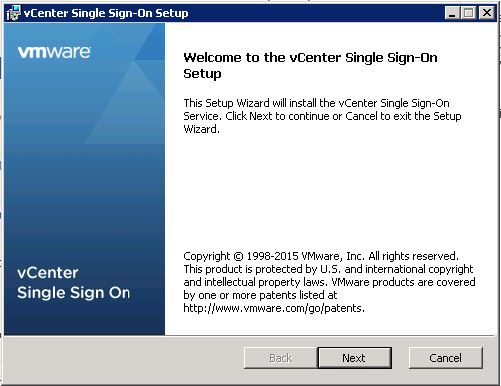
and here all the files i will start Migration Assistant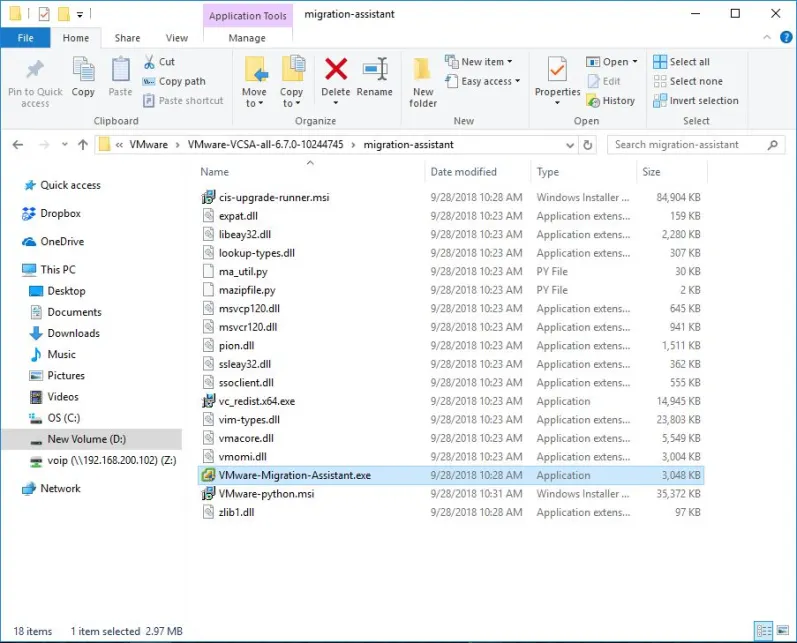
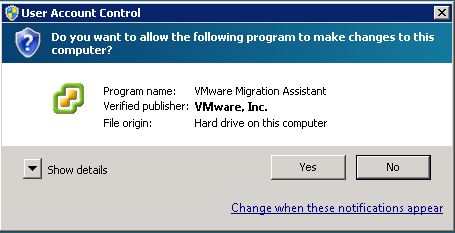
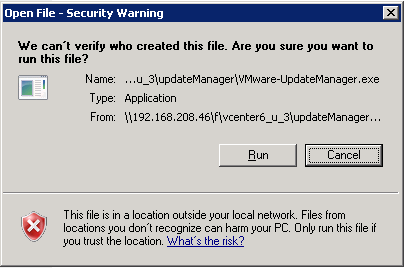
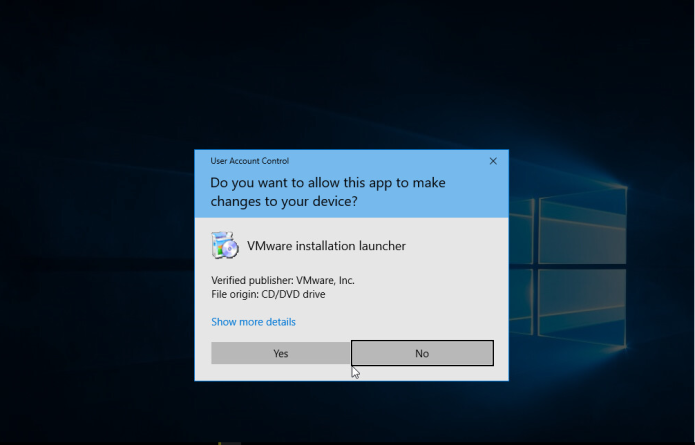
Click YES
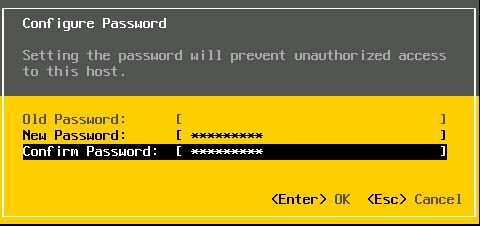
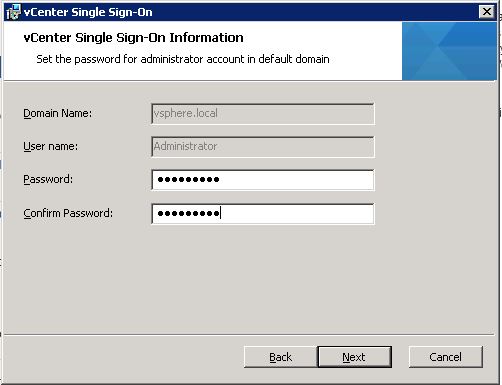
Enter the Administrator password 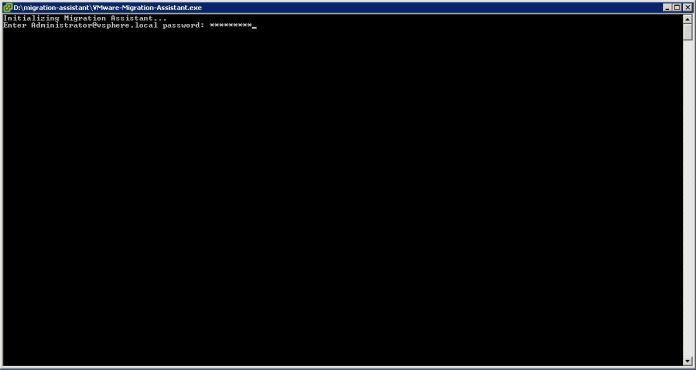
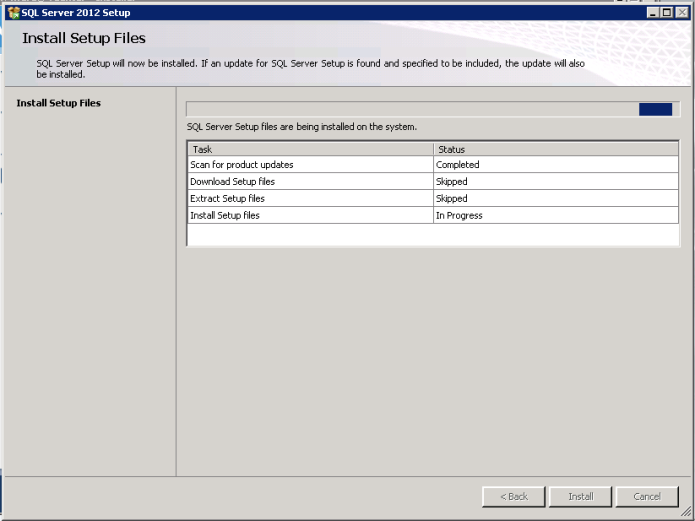
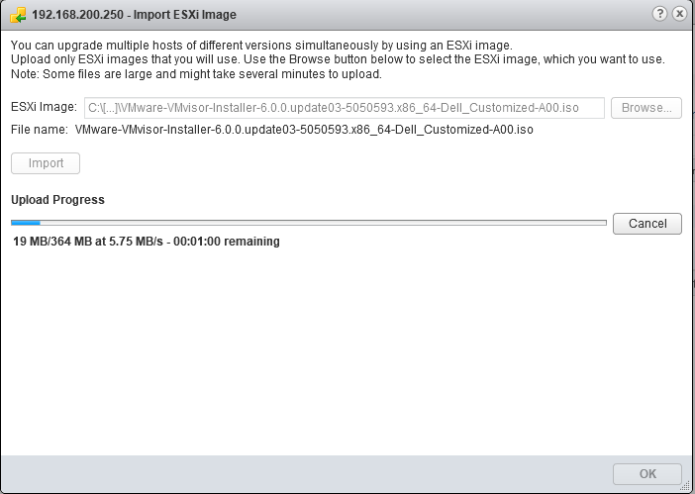
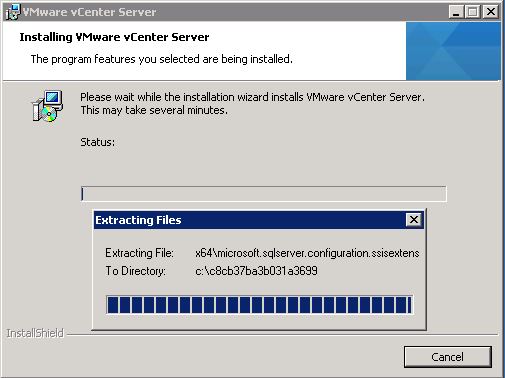
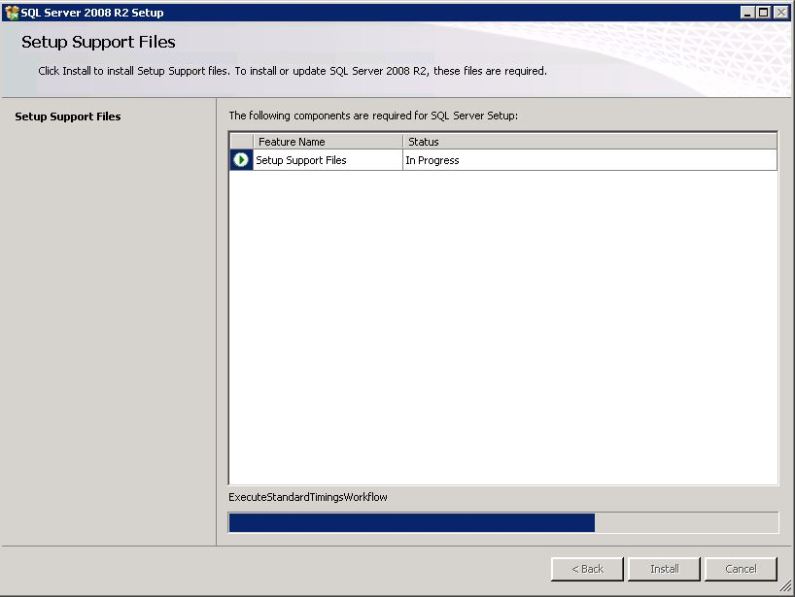
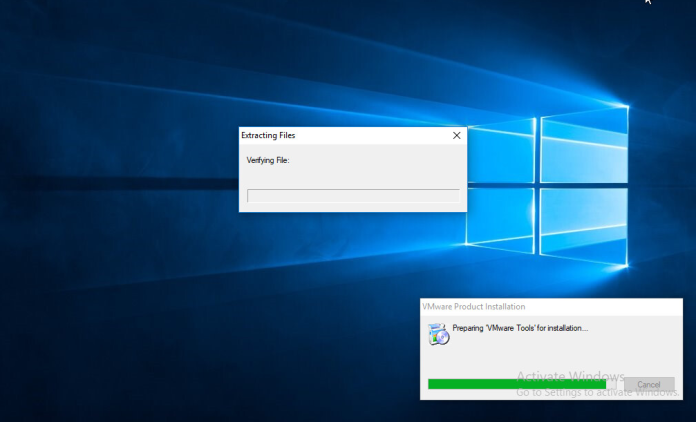
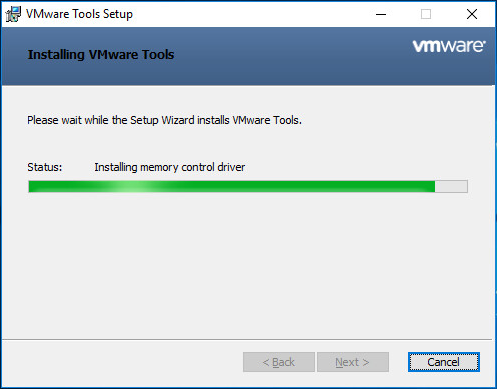
the Script will extract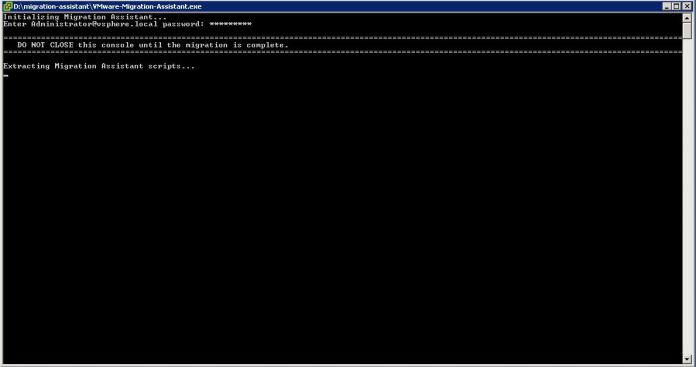
Once it mention for you to start the migration we will jump to the files again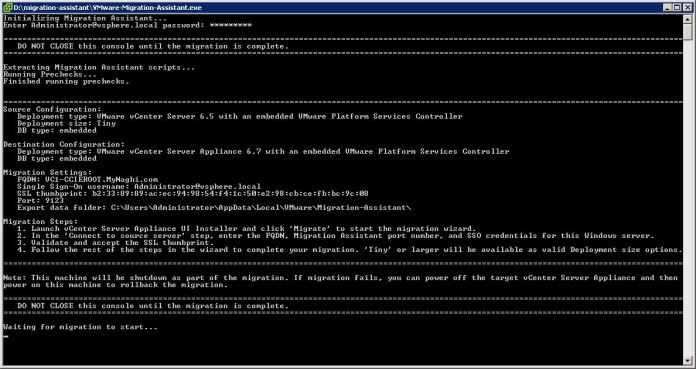
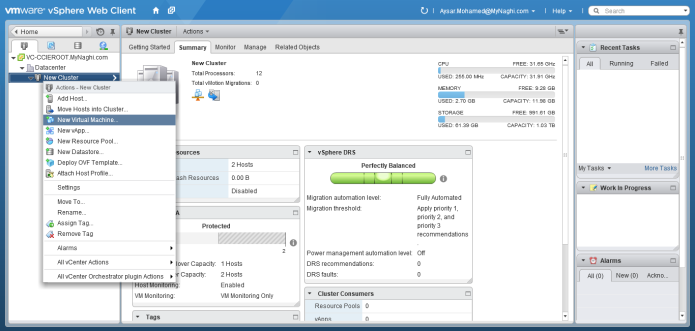
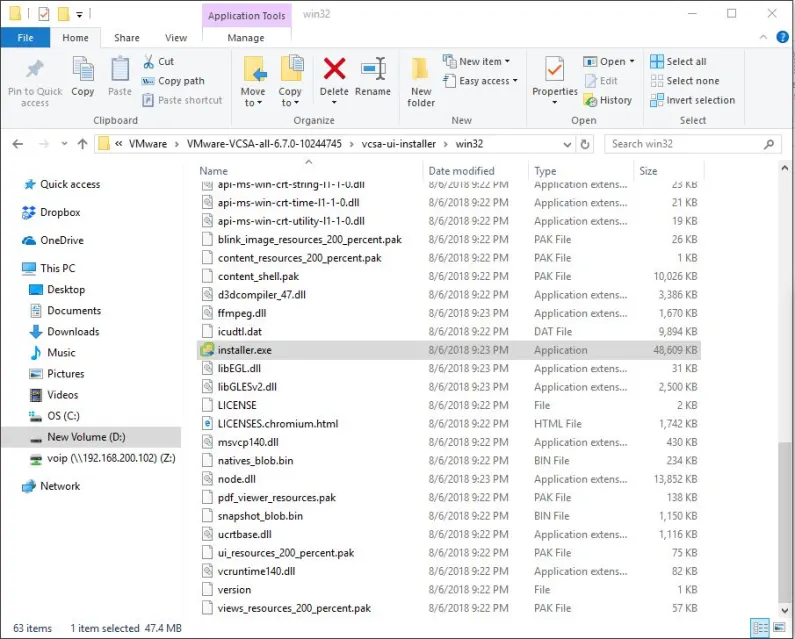
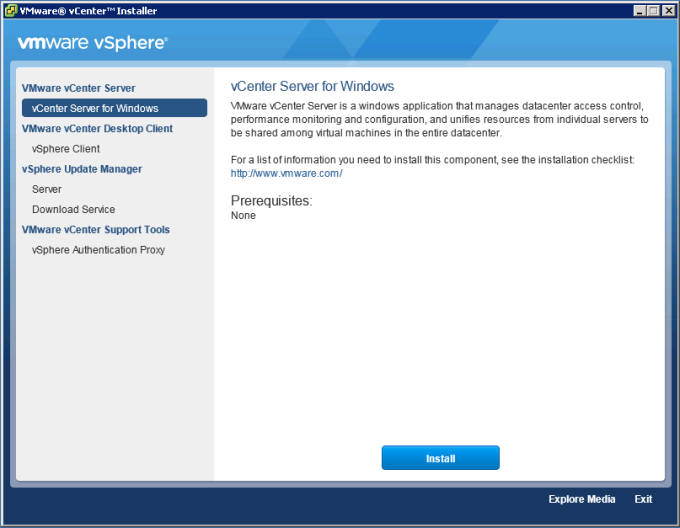
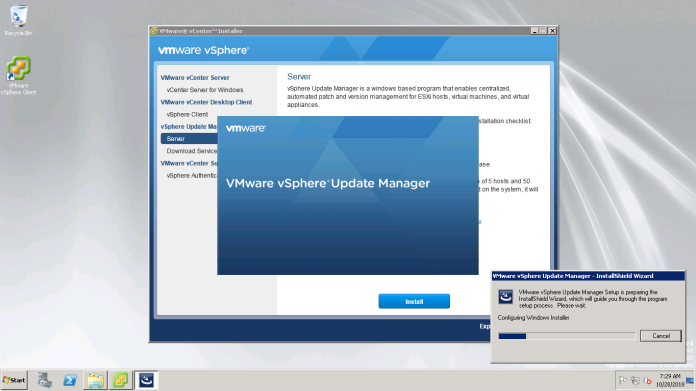
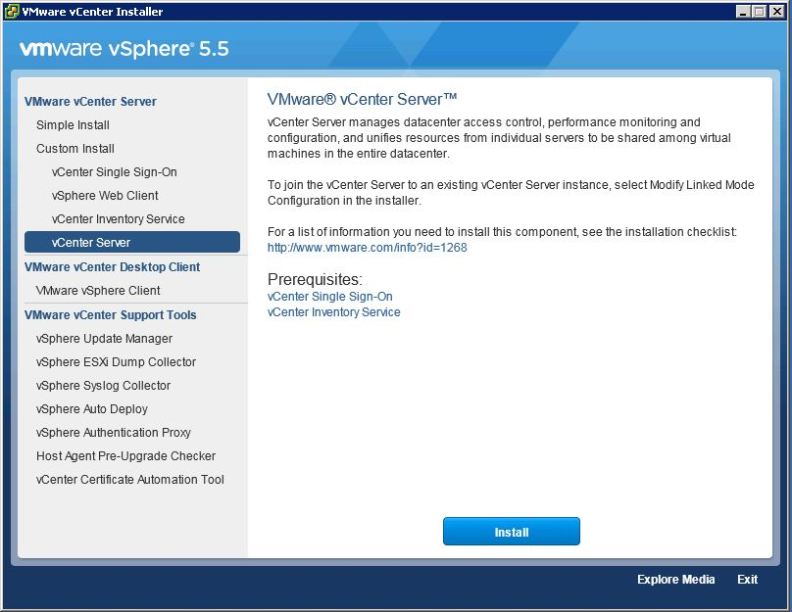
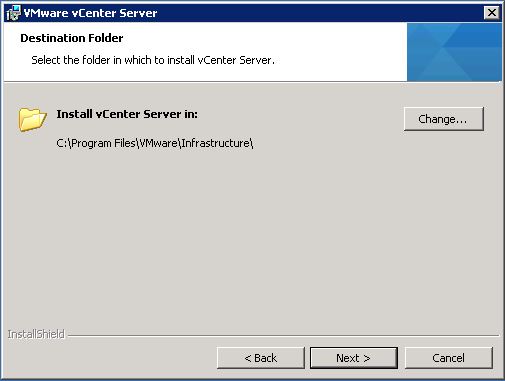
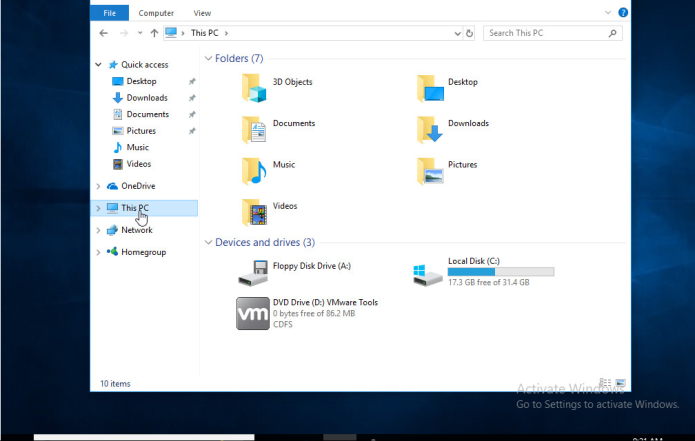
Now go to D:\VMware\VMware-VCSA-all-6.7.0-10244745\vcsa-ui-installer\win32
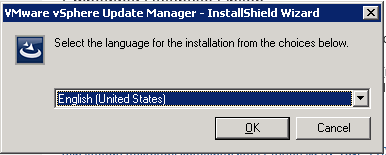
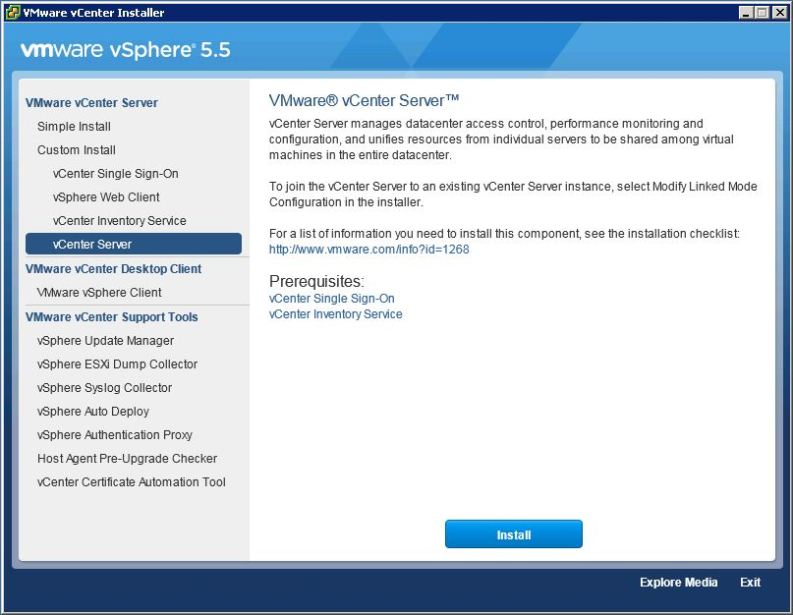
Click on Installer.exe
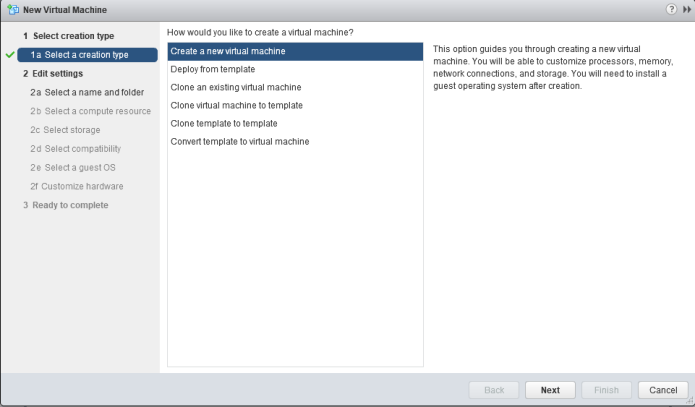
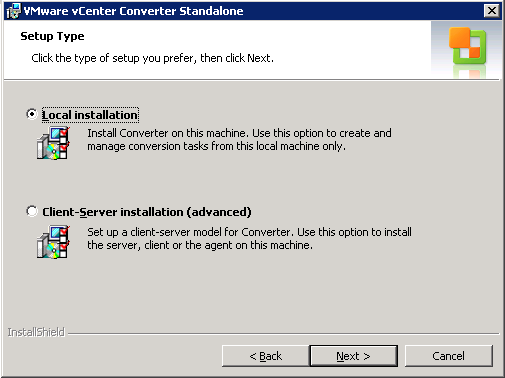
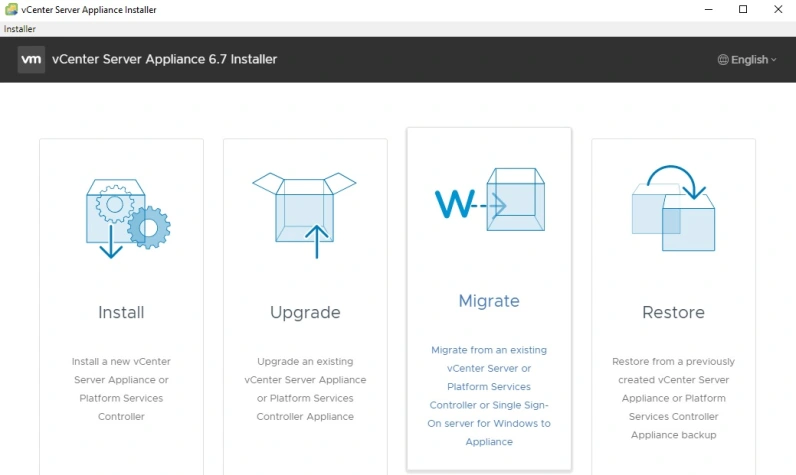
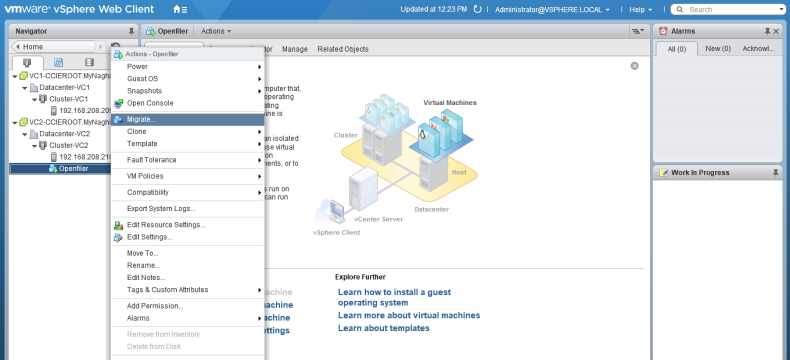
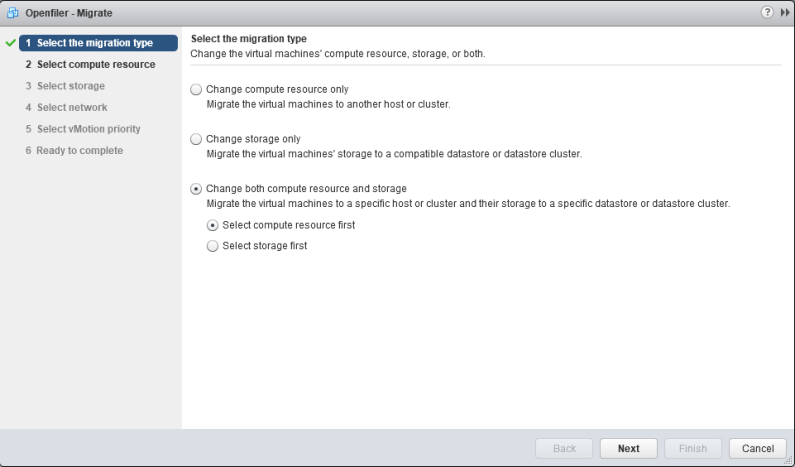
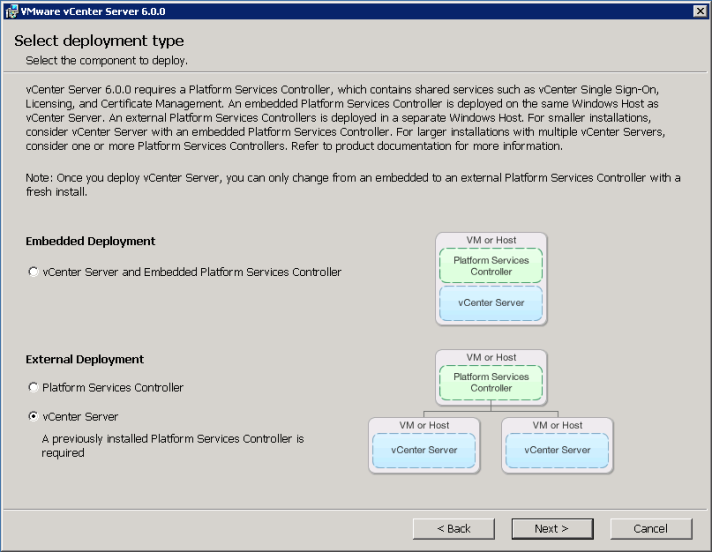
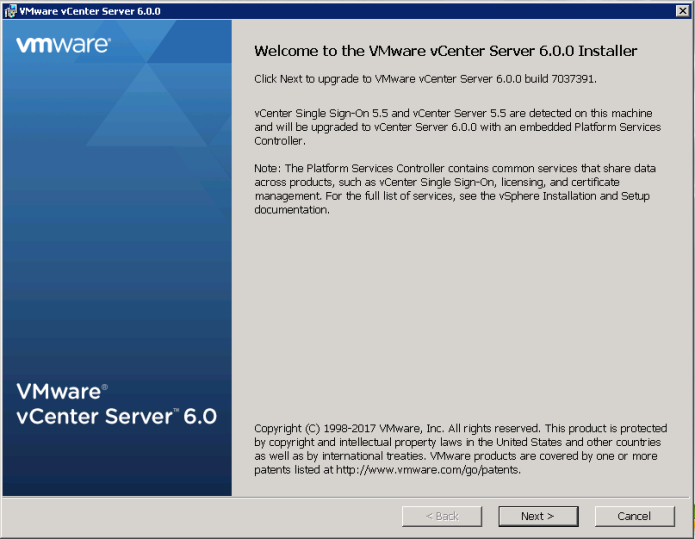
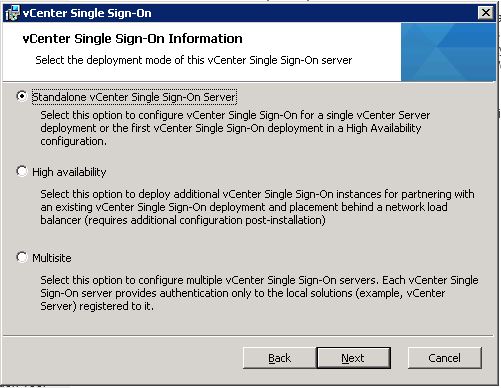
Choose Migrate
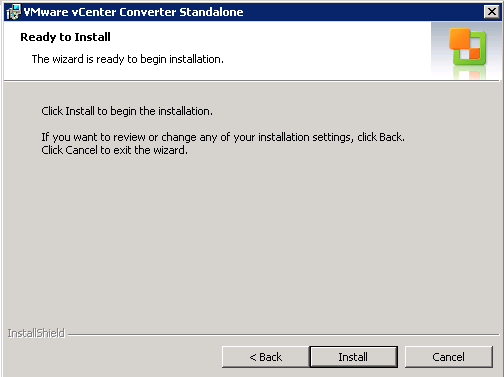
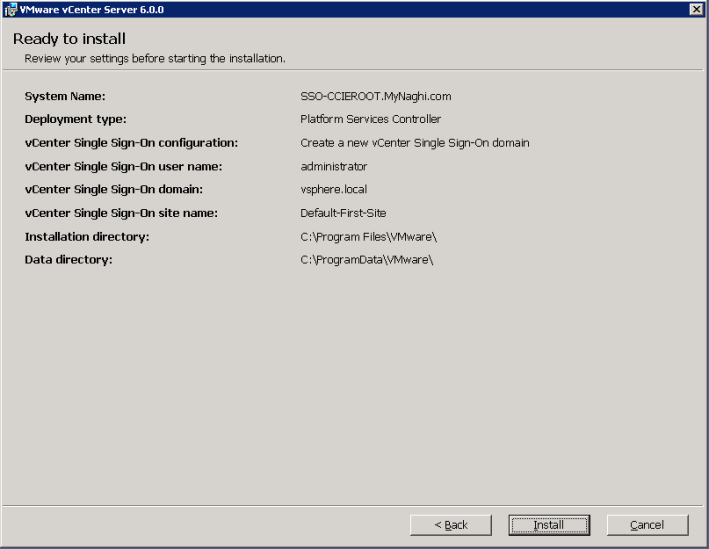
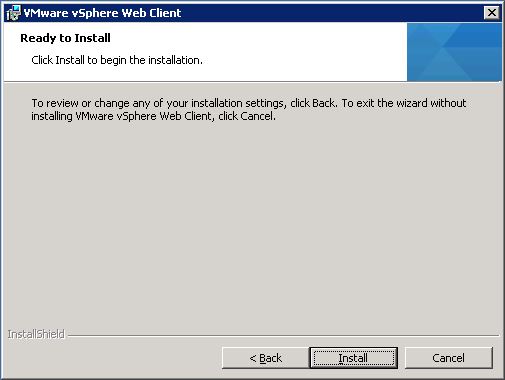
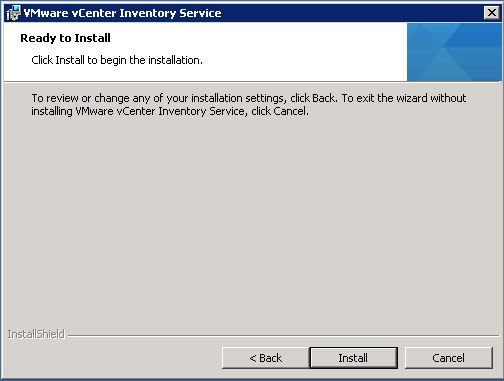
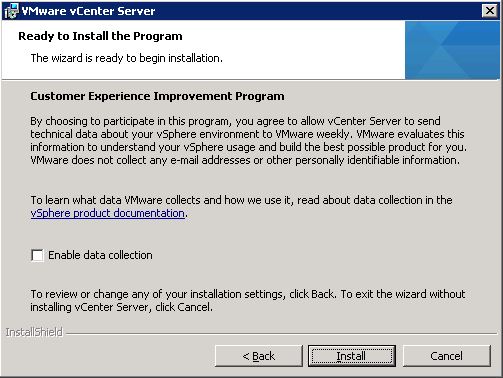
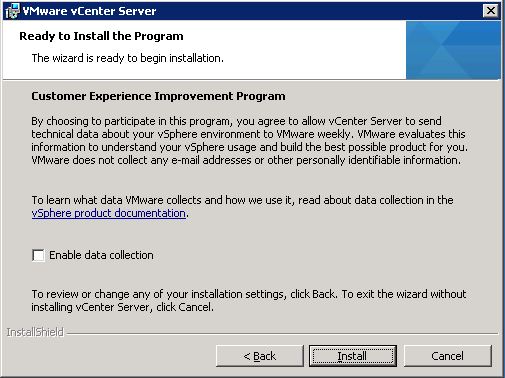
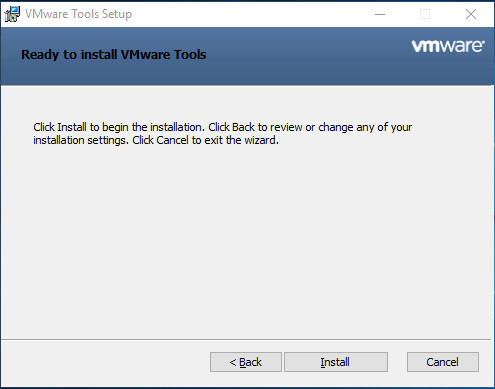
Click Deploy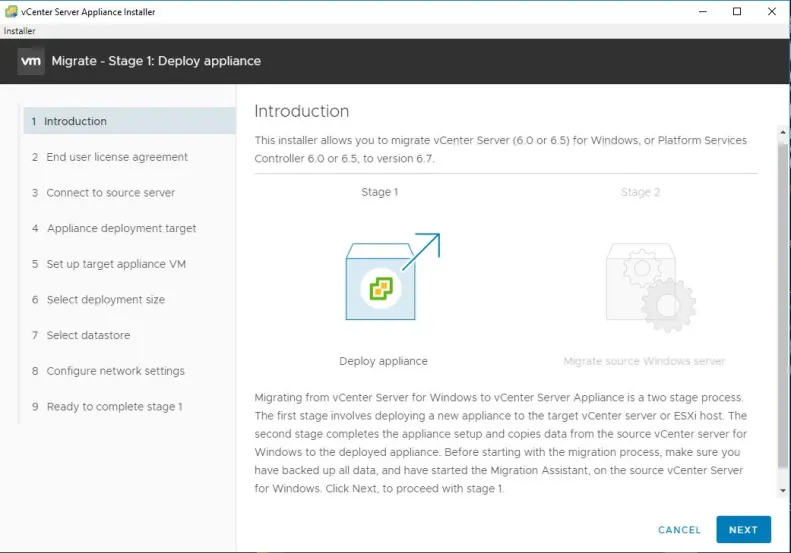
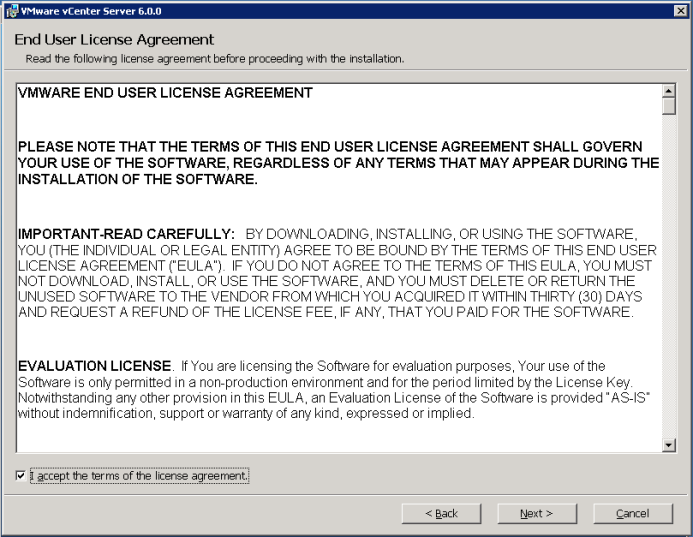
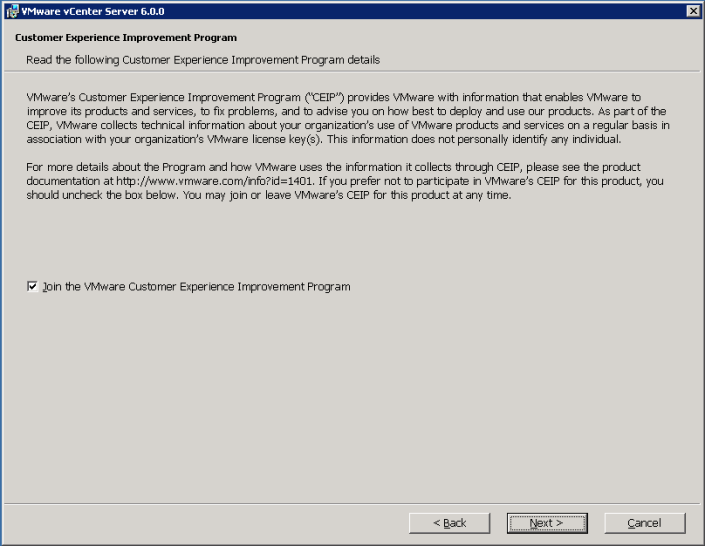
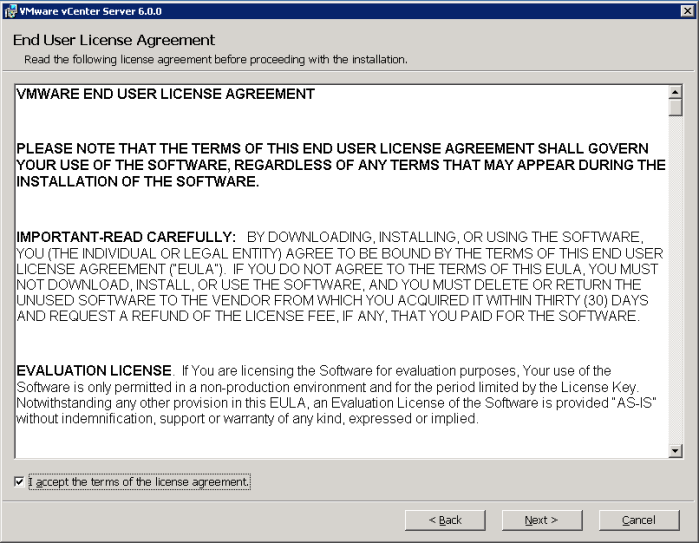
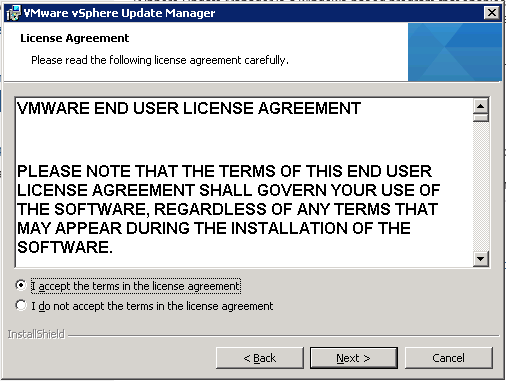
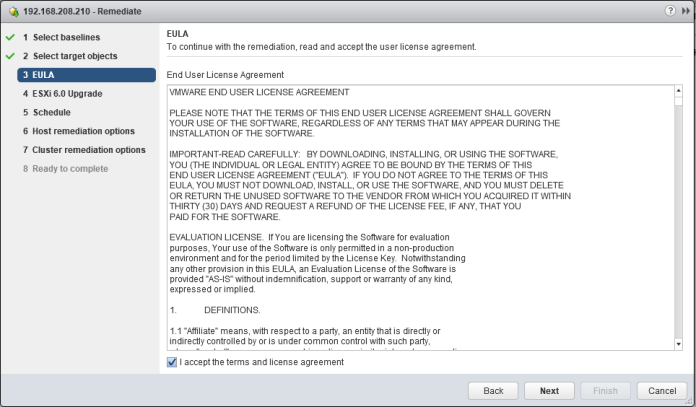
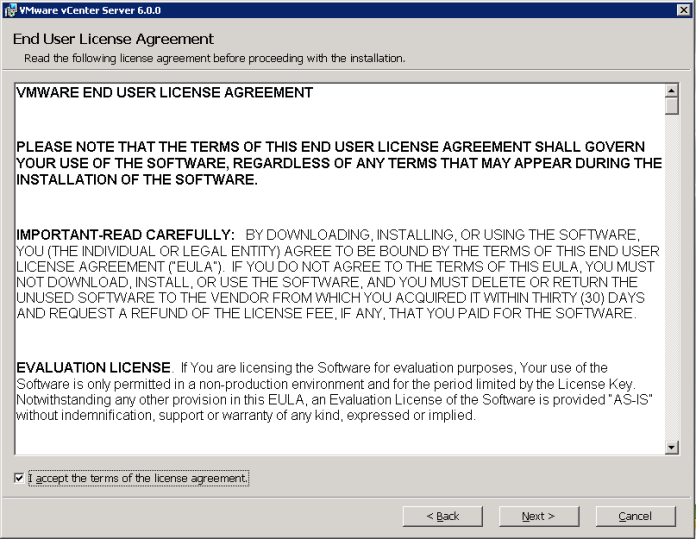
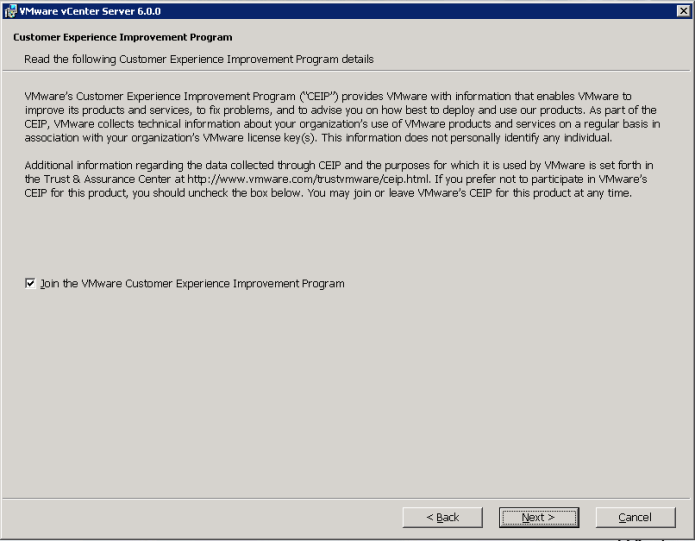
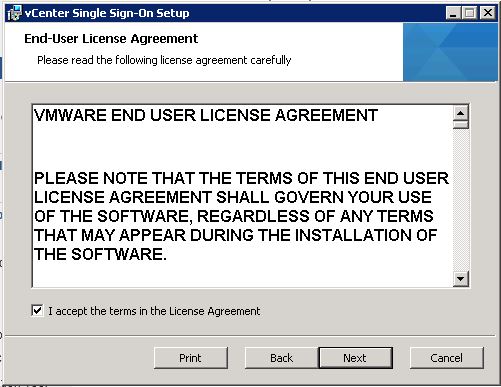
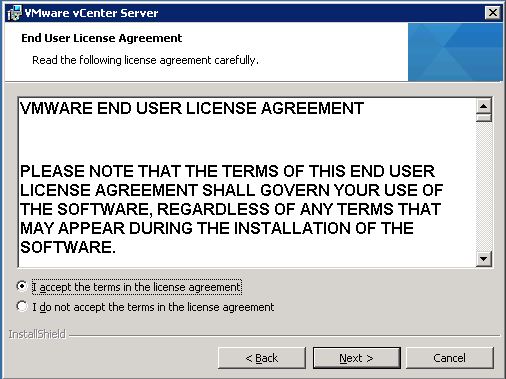
i Accept the License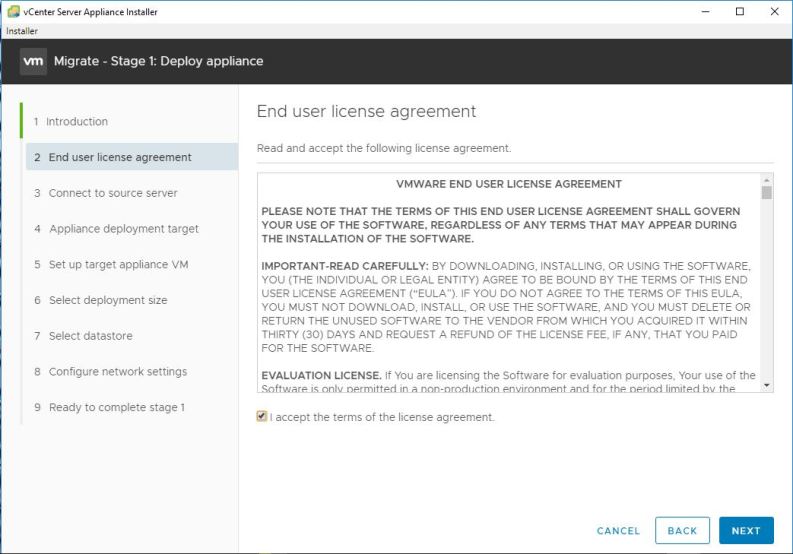
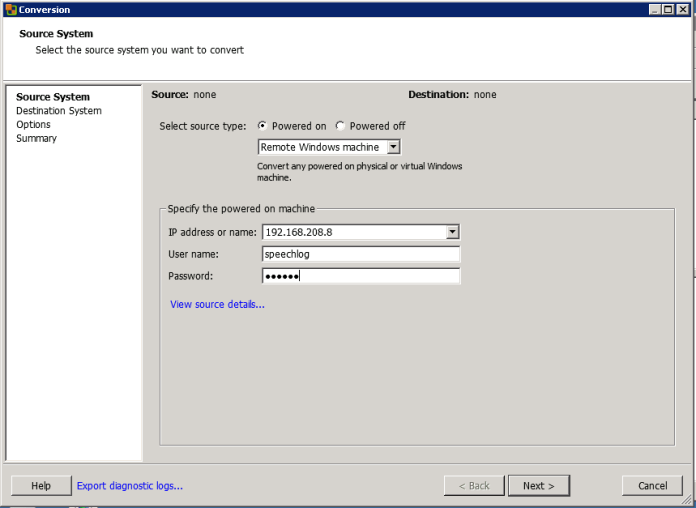
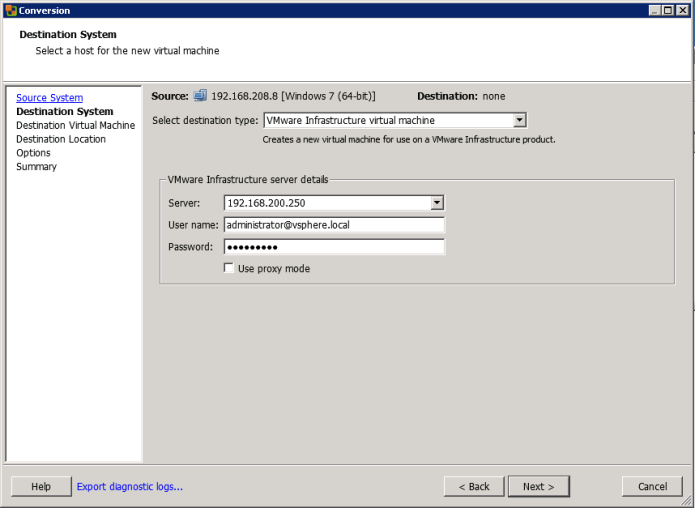
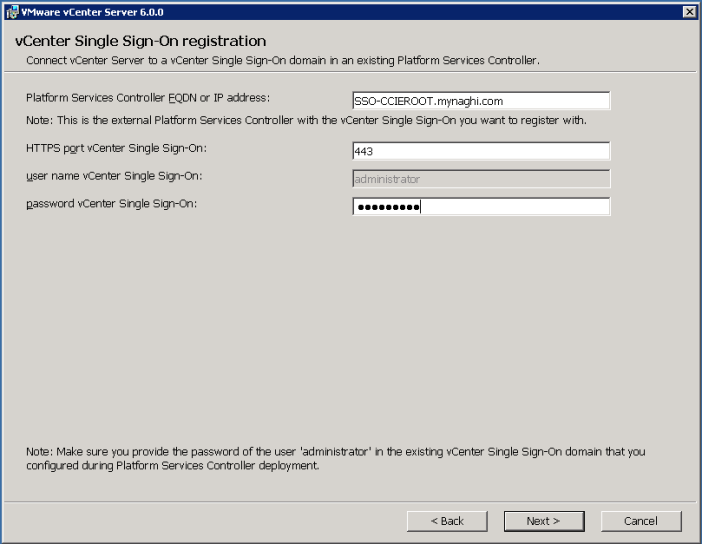
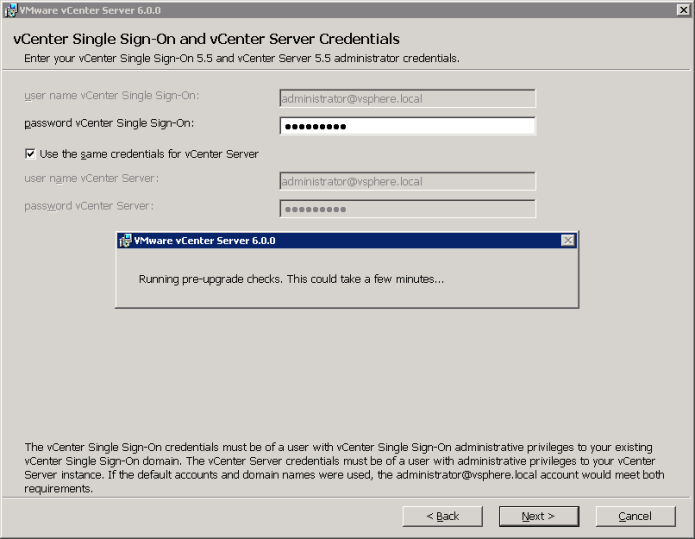
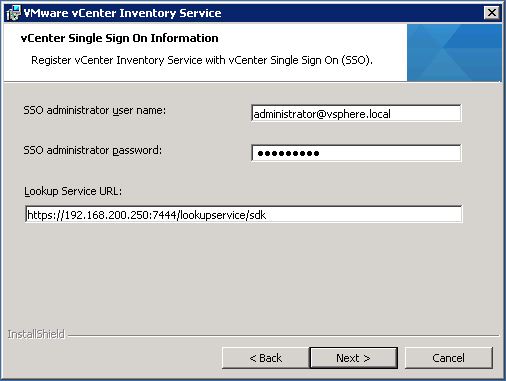
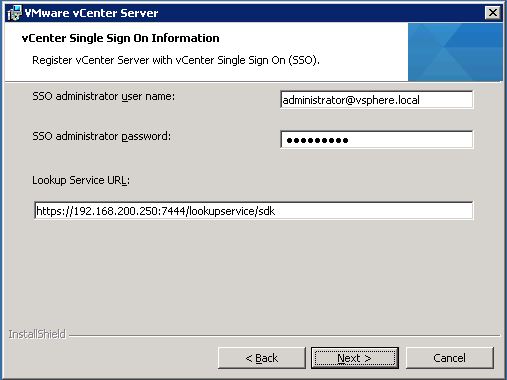
Enter the detail of the Source vCenter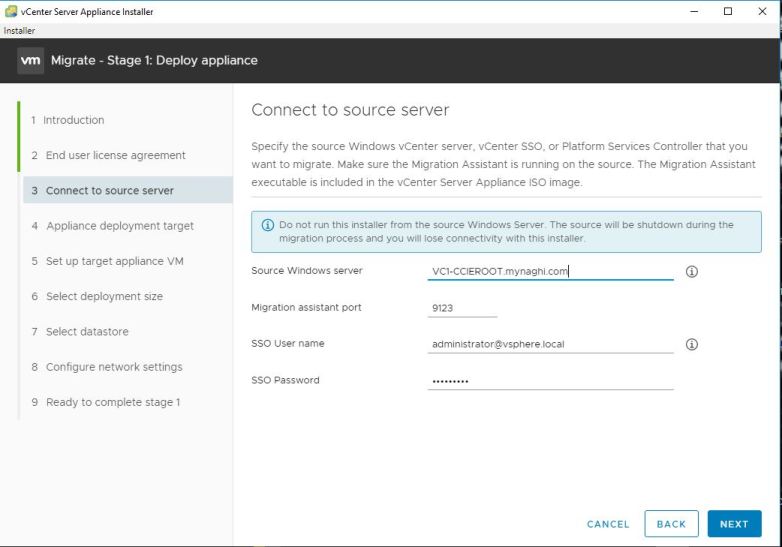
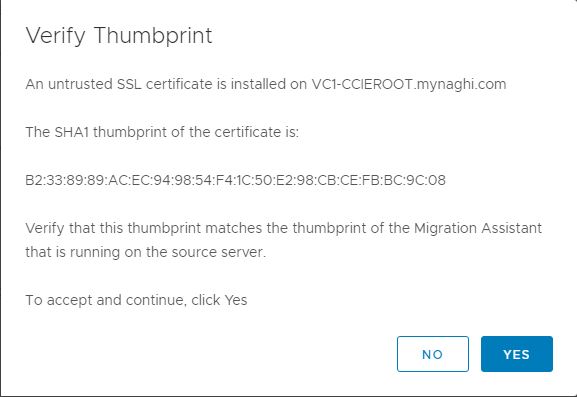
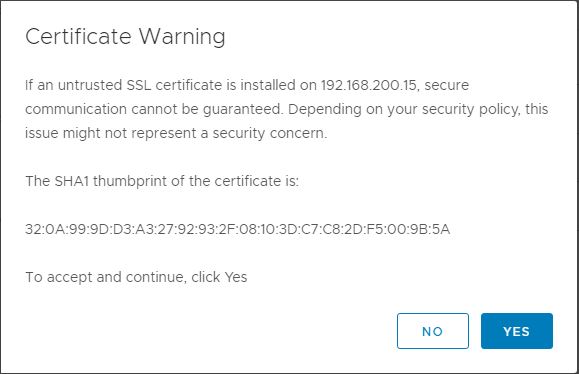
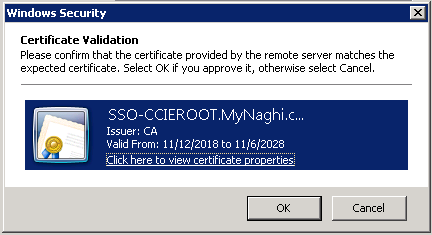
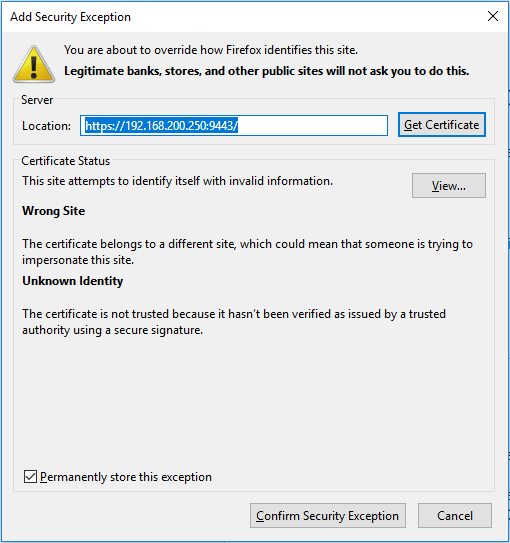
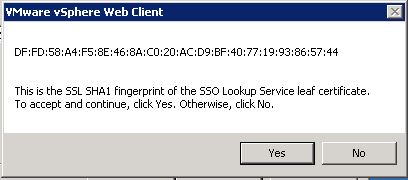
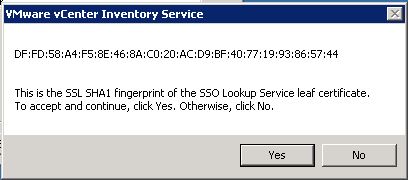
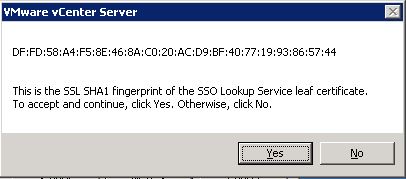
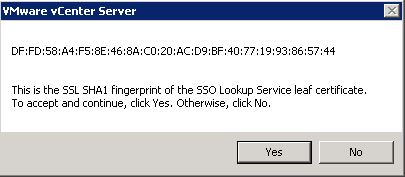
I will verify the thumbprint
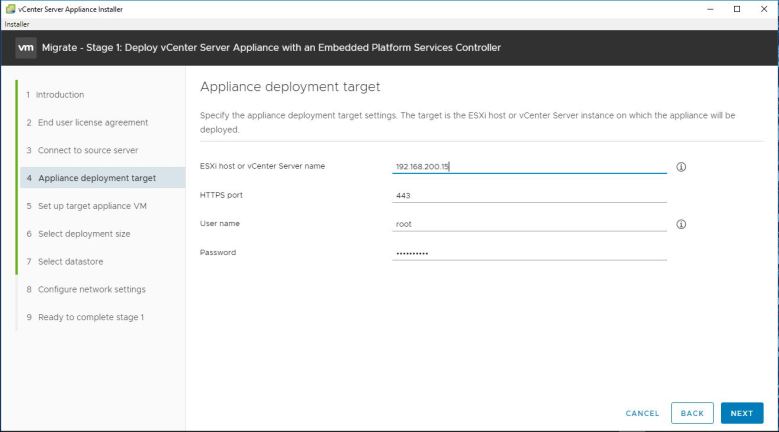
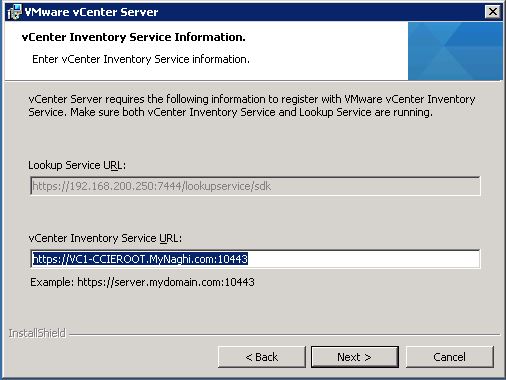
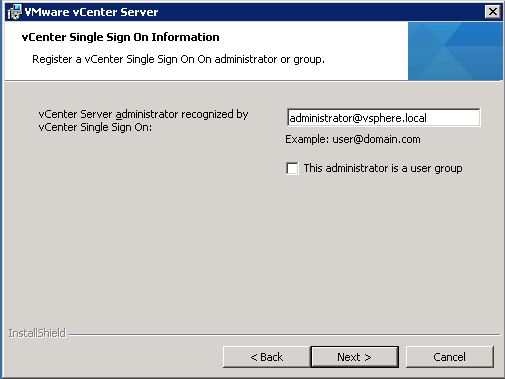
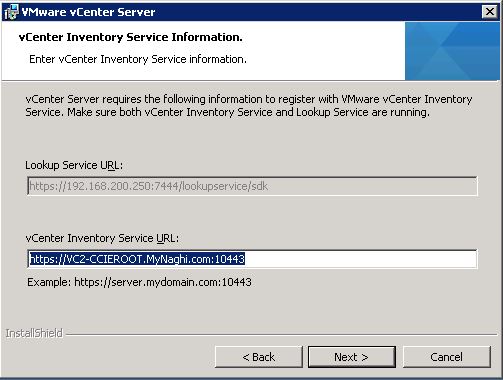
Enter the Target vCenter Detail
Click YES
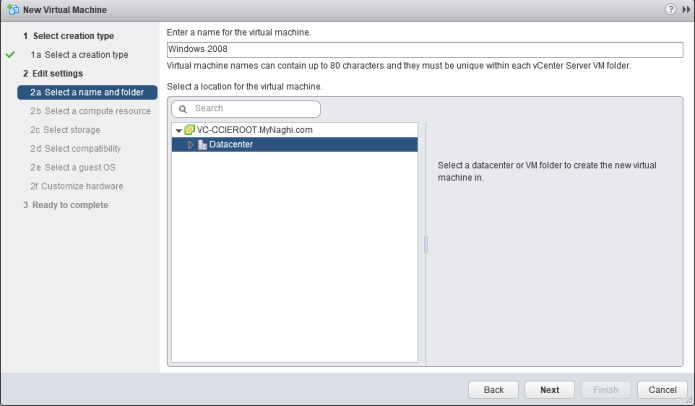
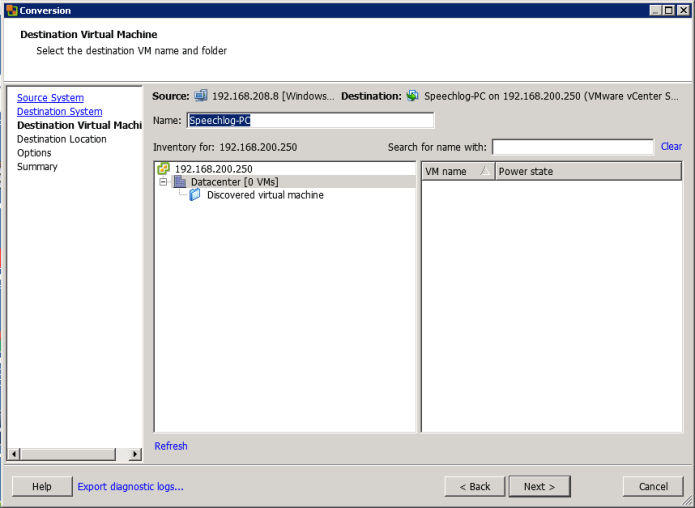
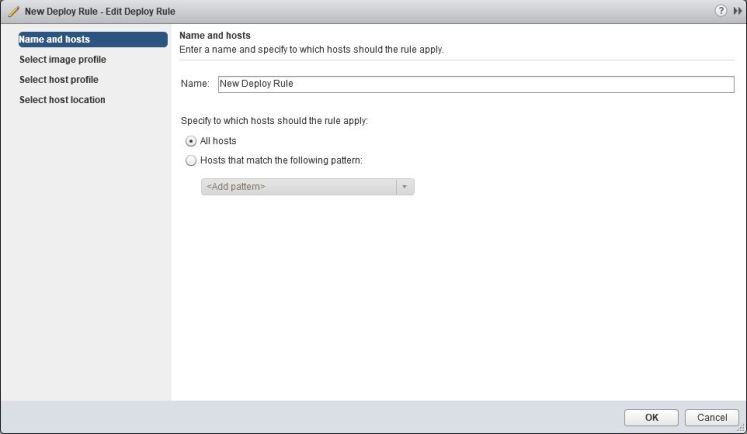
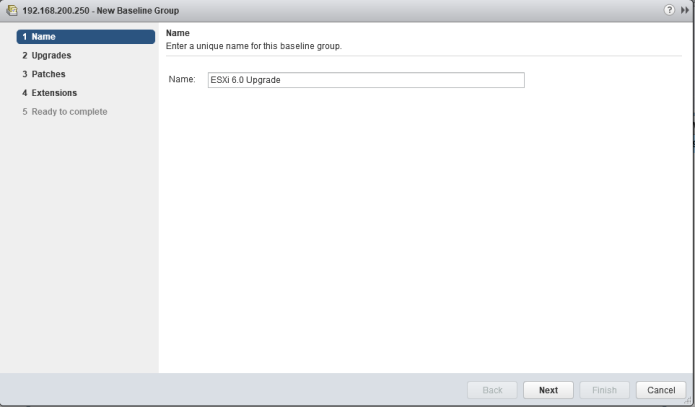
Put the new Name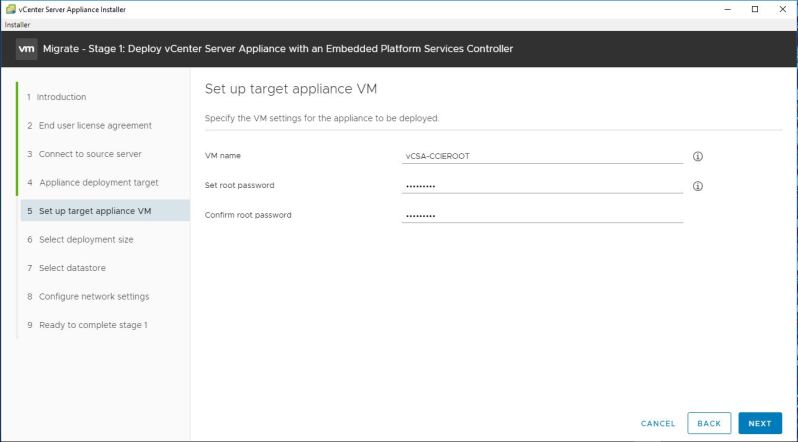
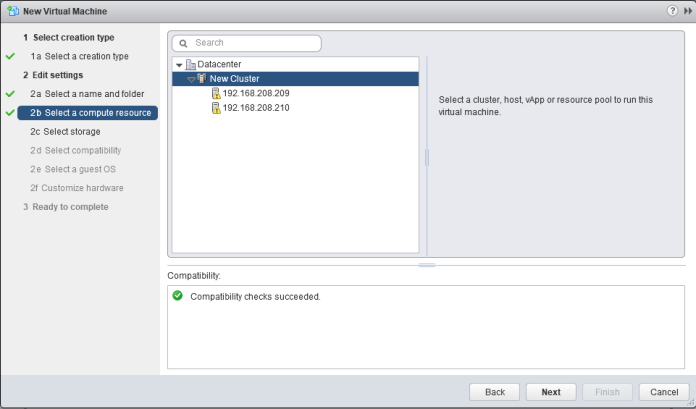
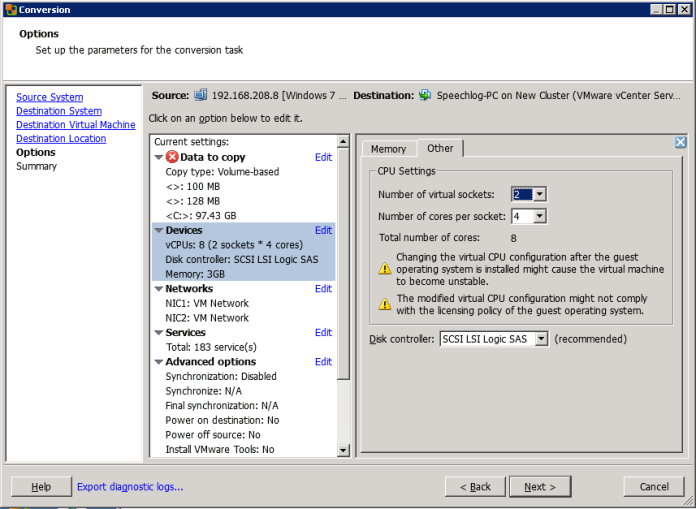
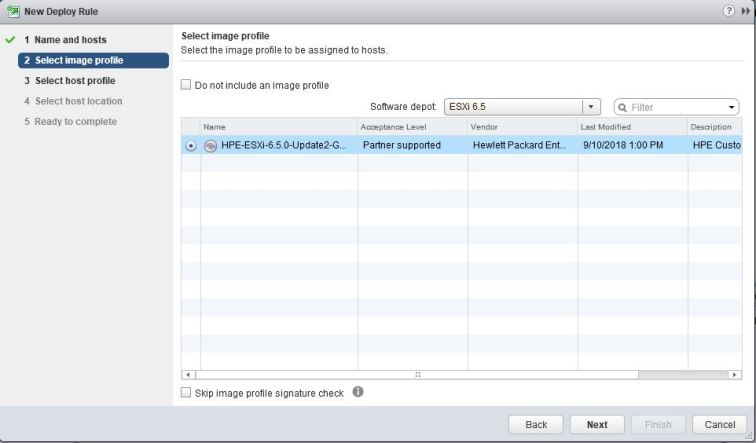
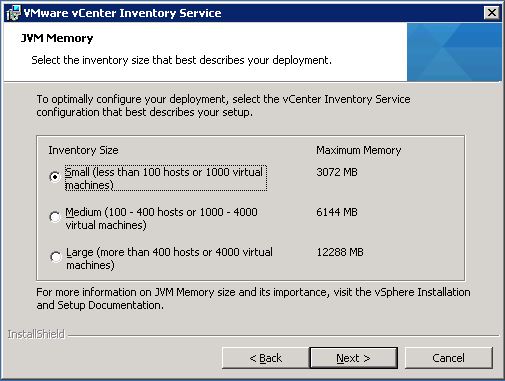
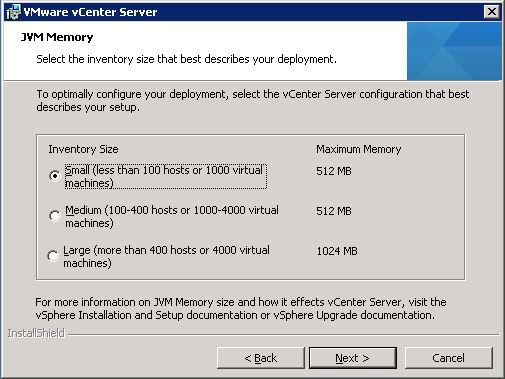
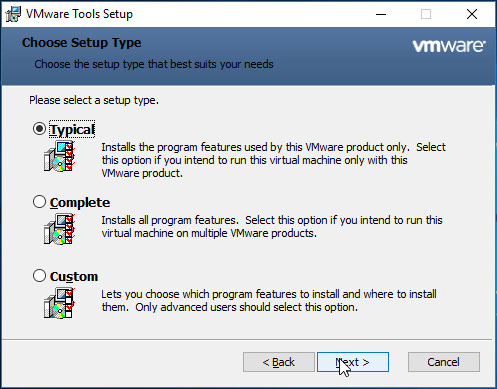
Select the Deployment Size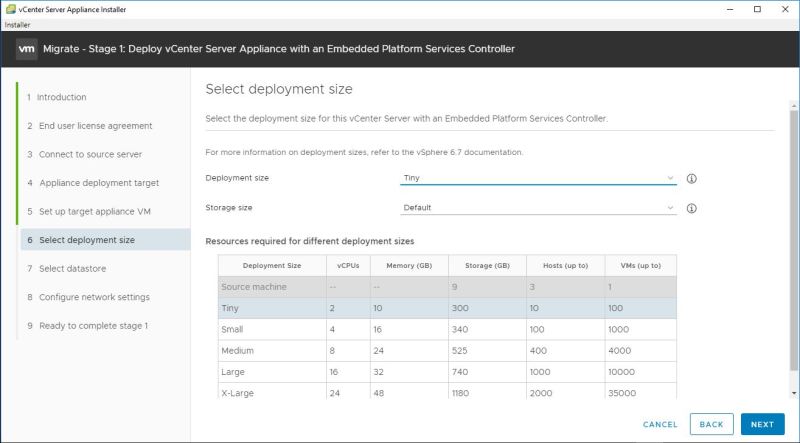
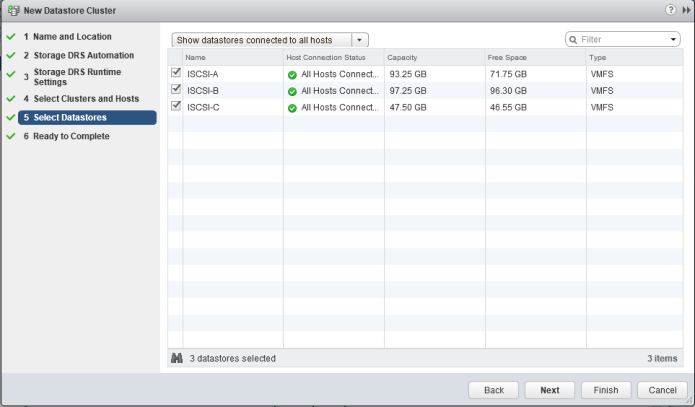
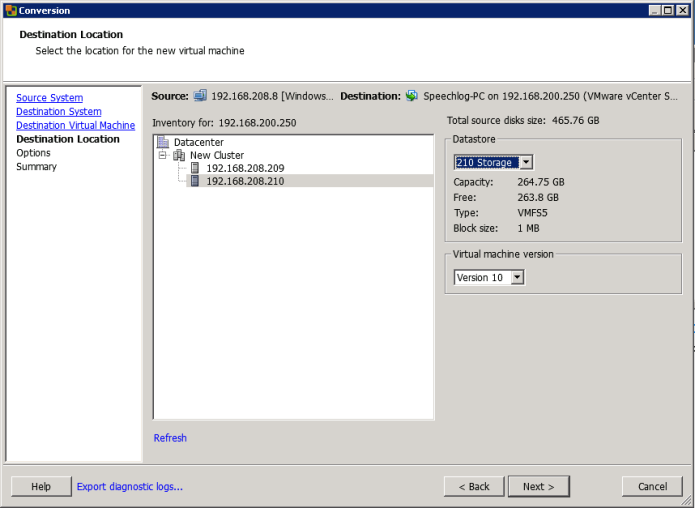
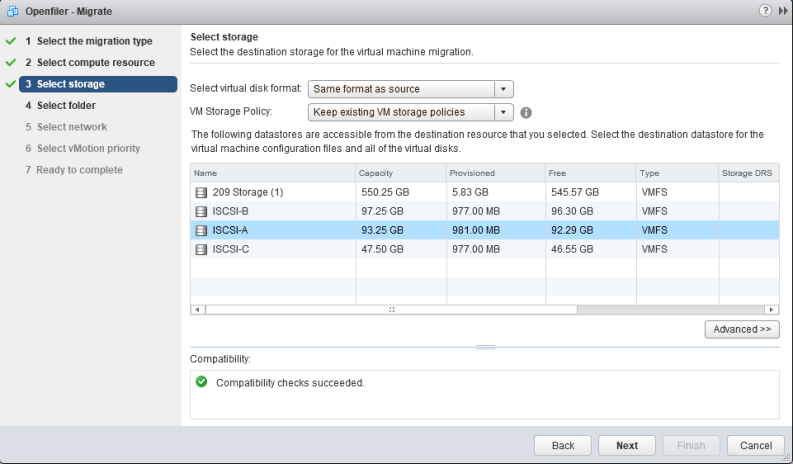
Select the Datastore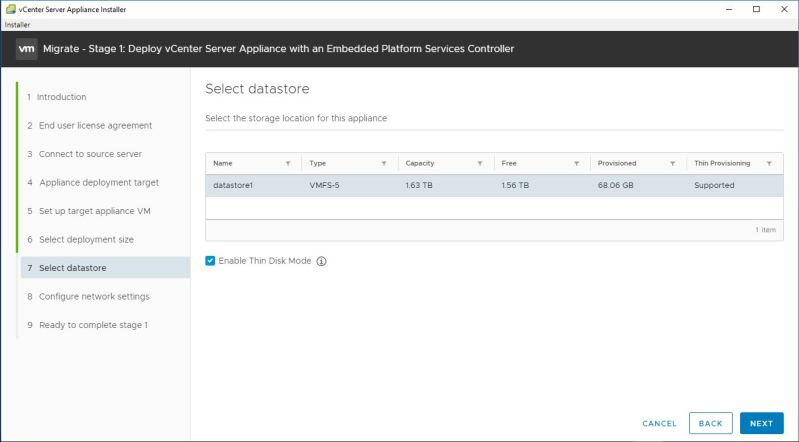
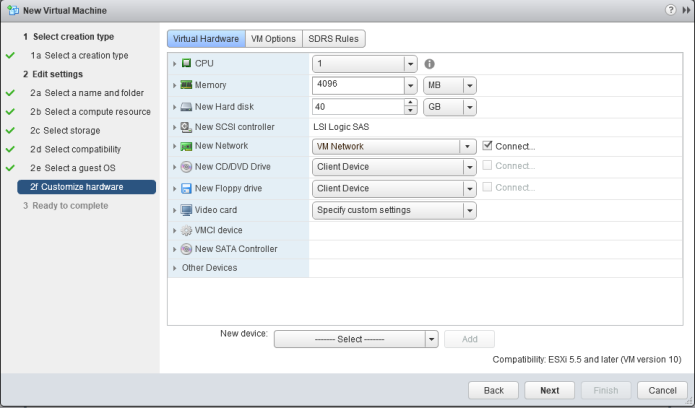
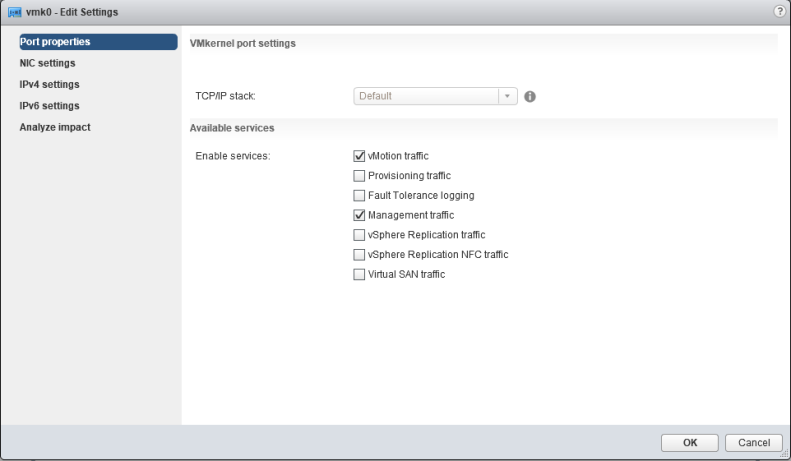
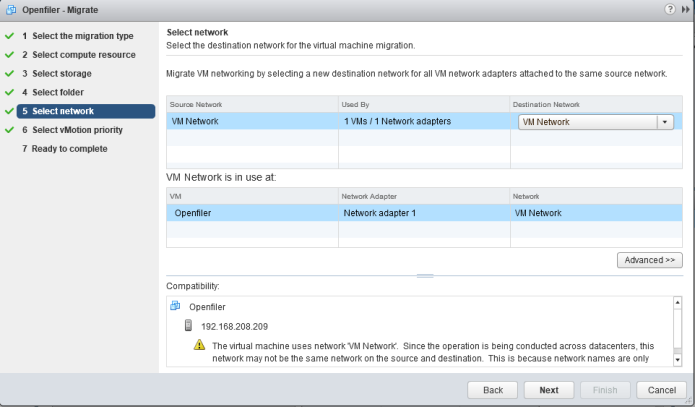
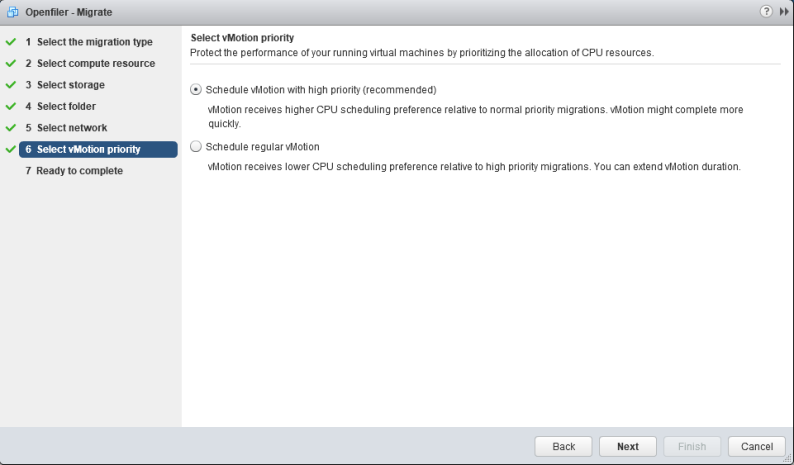
Choose the network configuration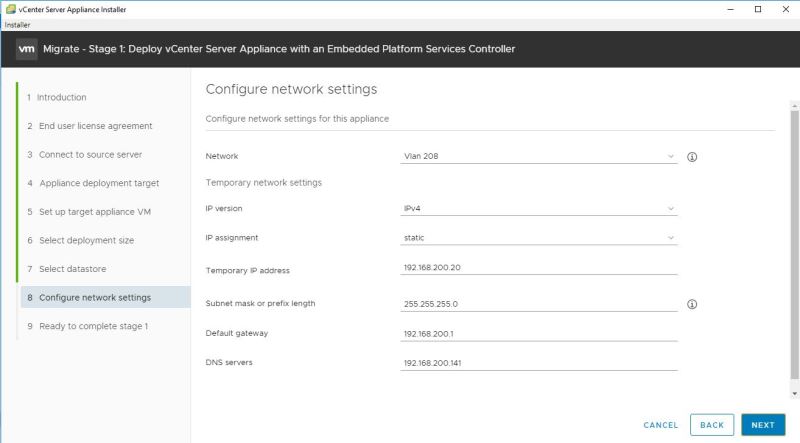
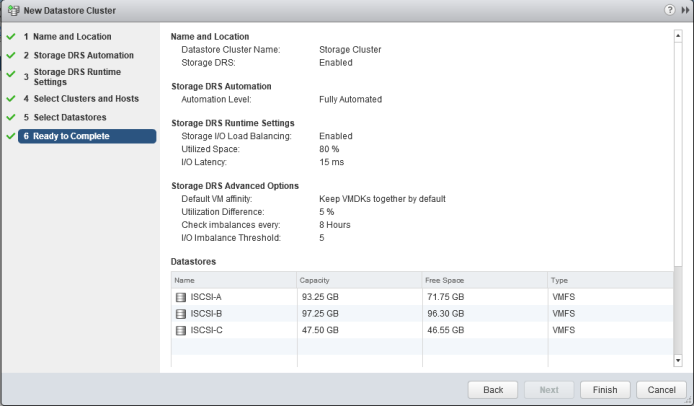
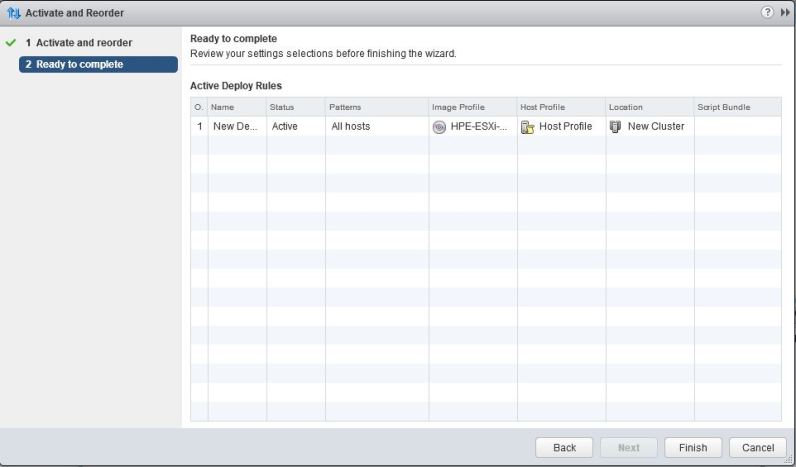
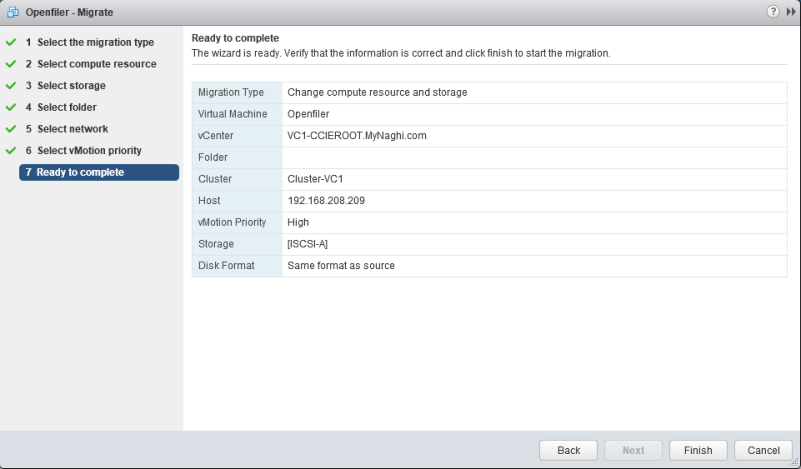
Click FINISH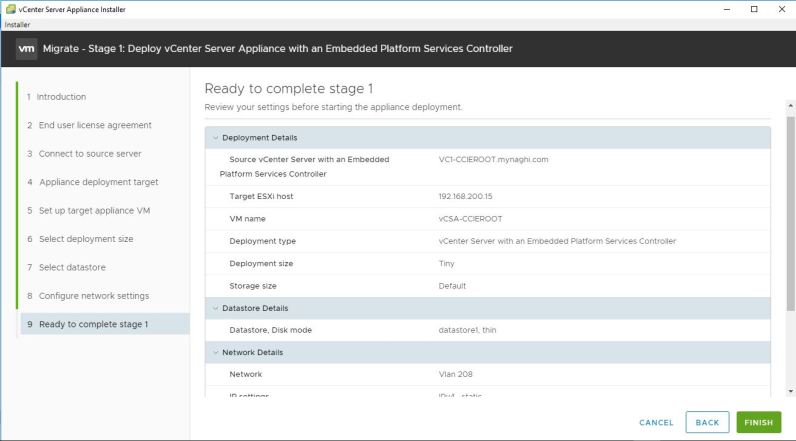
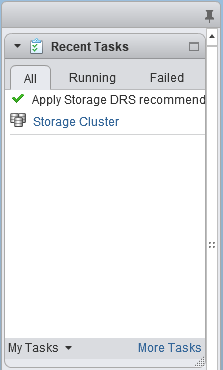
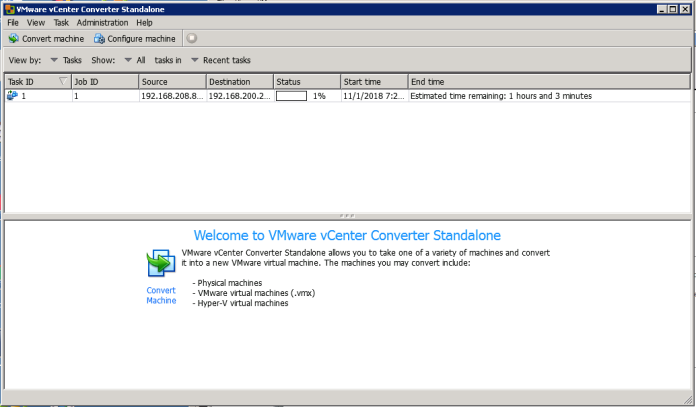
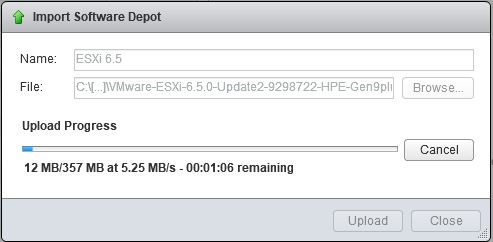
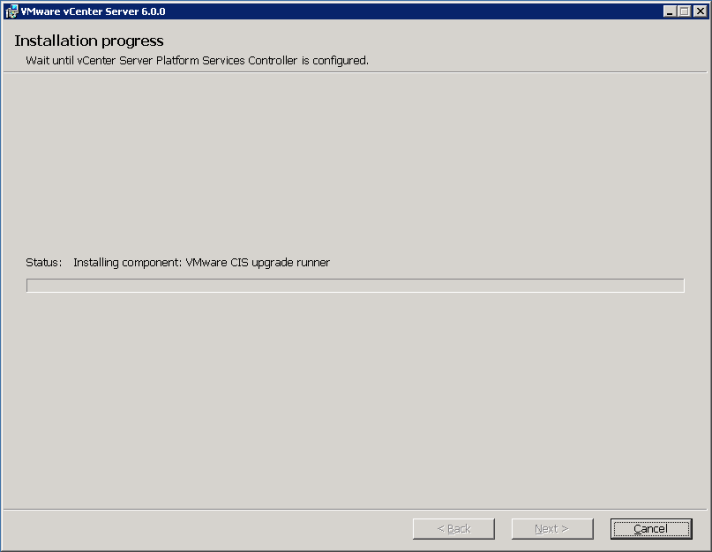
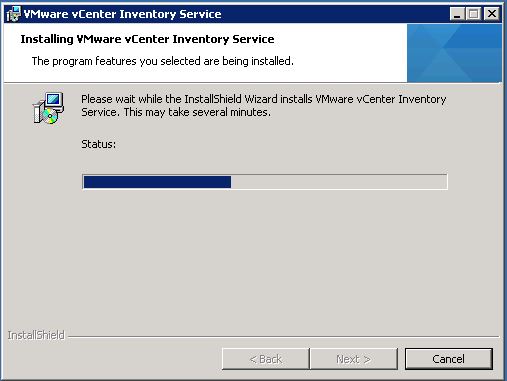
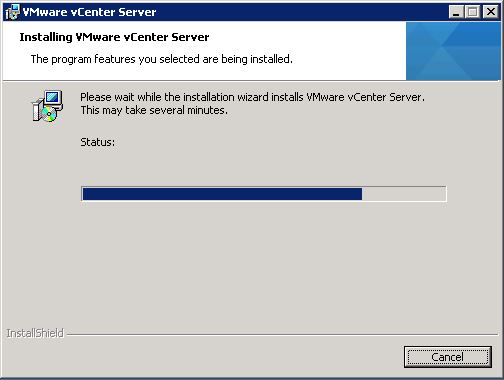
Monitor the Deployment
Click CONTINUE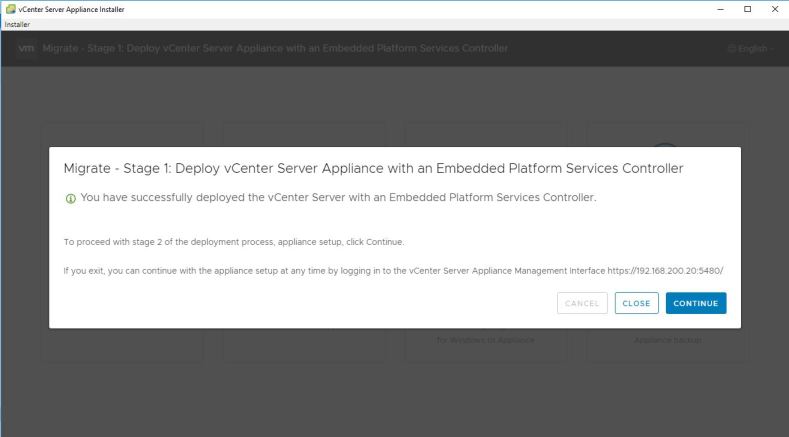
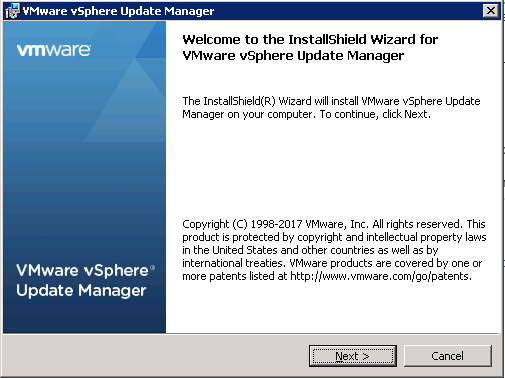
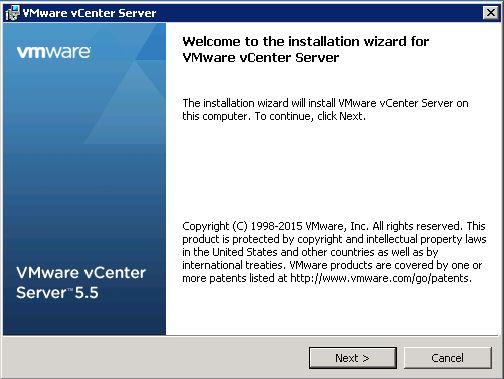
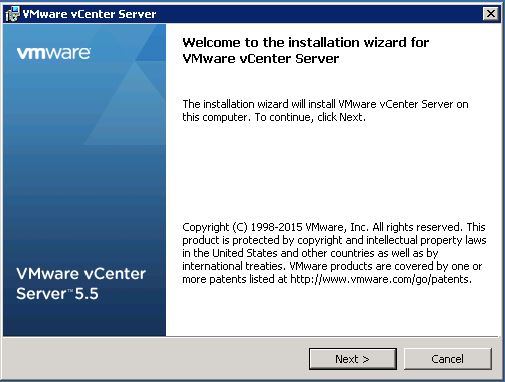
Click Next
Save in progress 😀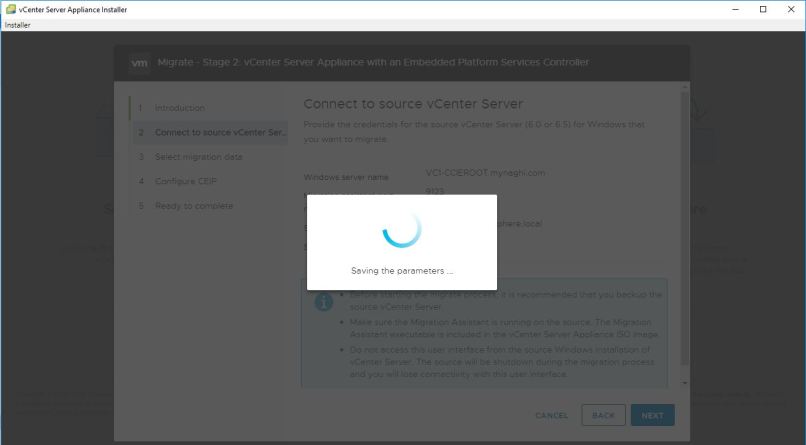
Pre-migration Check but that is ok since it’s a lab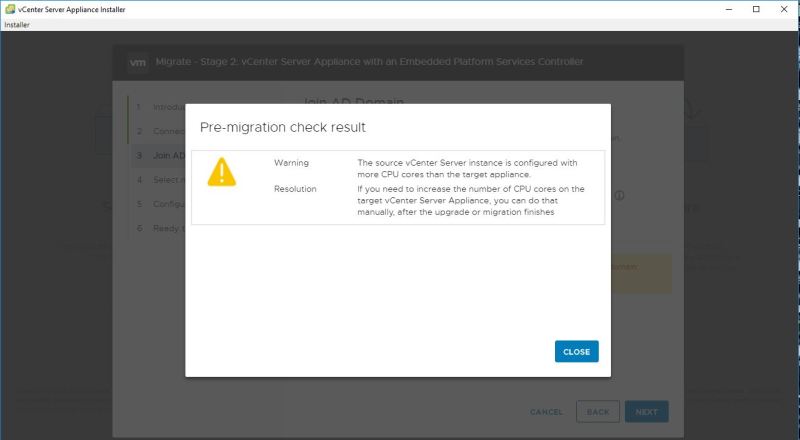
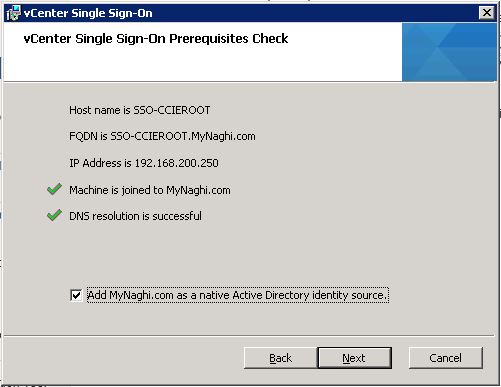
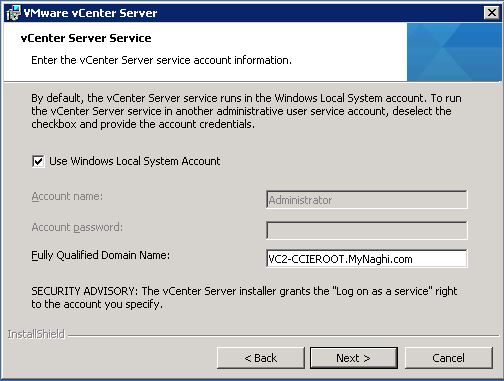
enter the detail to join the machine to the domain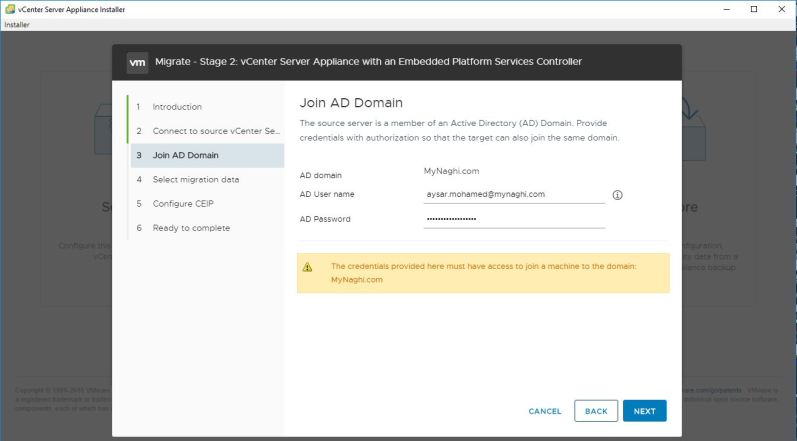
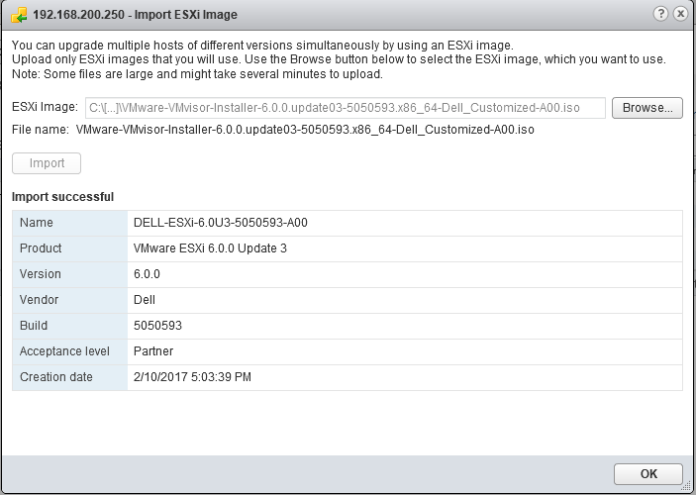
Validation Success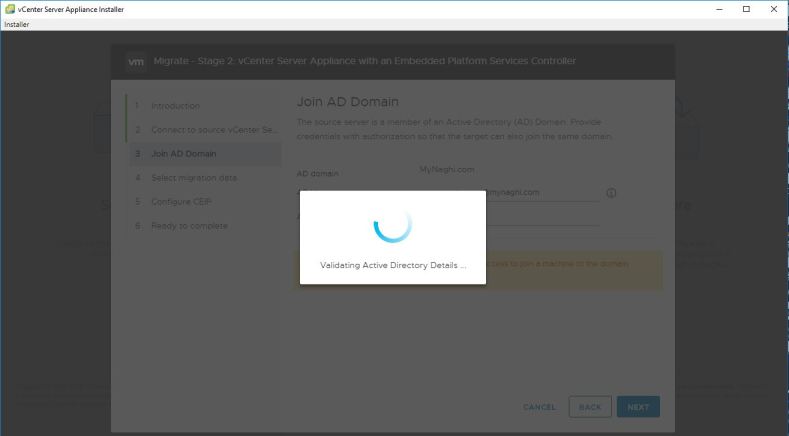
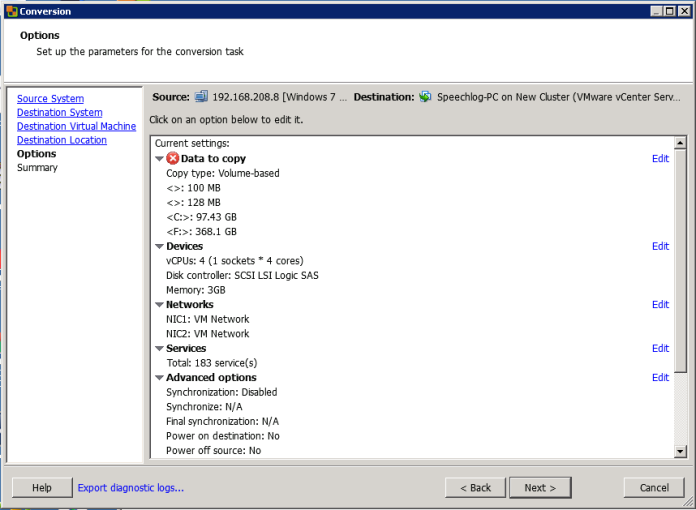
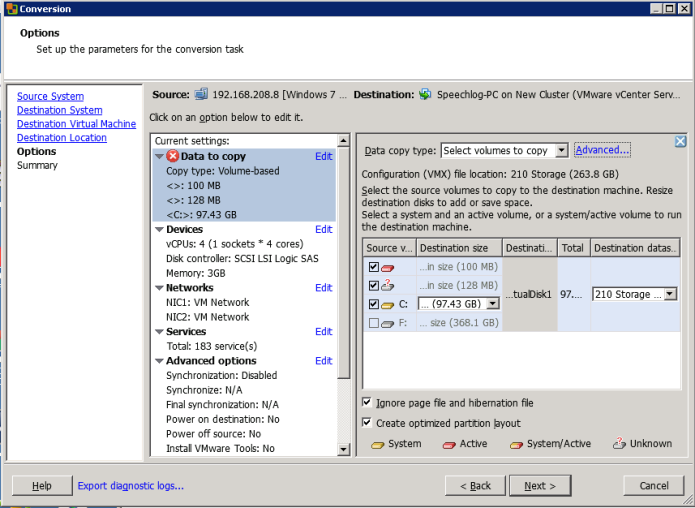
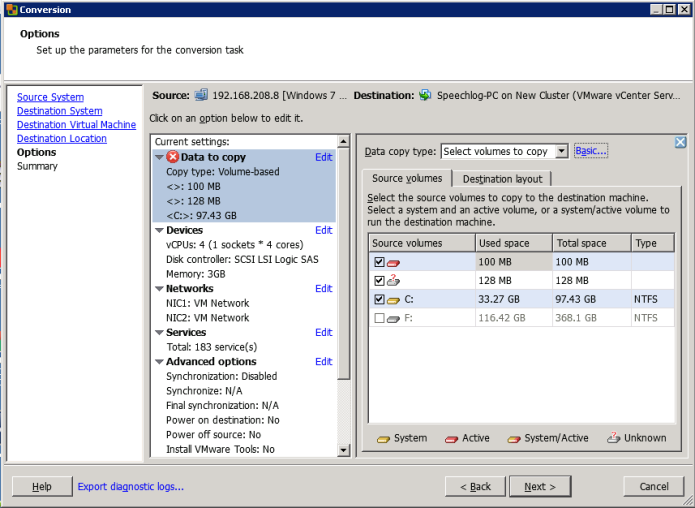
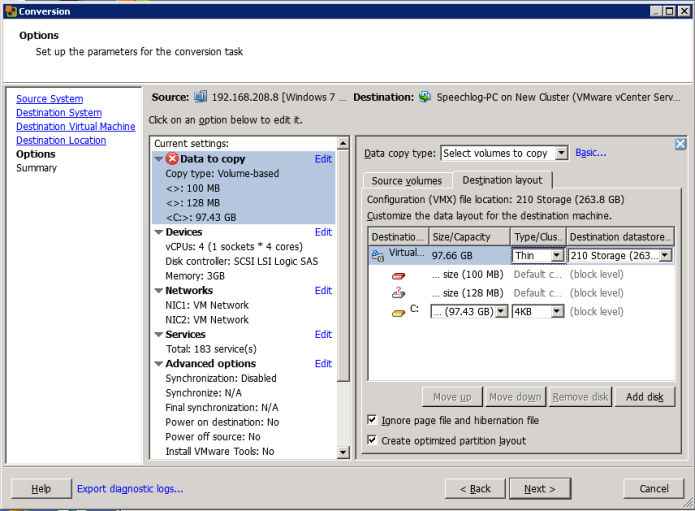
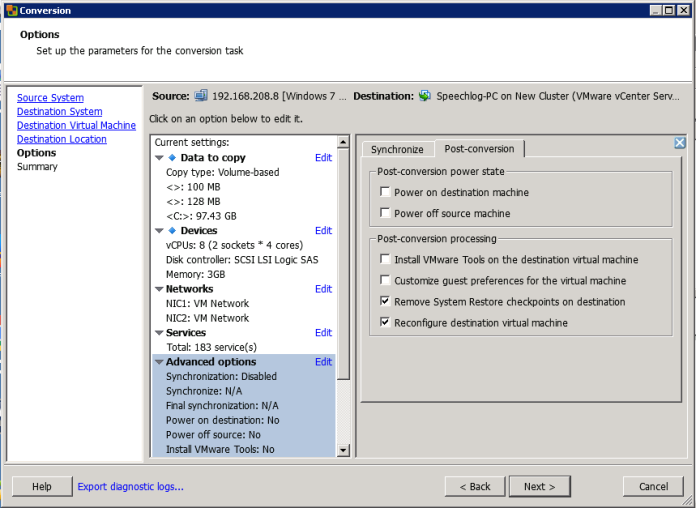
Select the Migration data 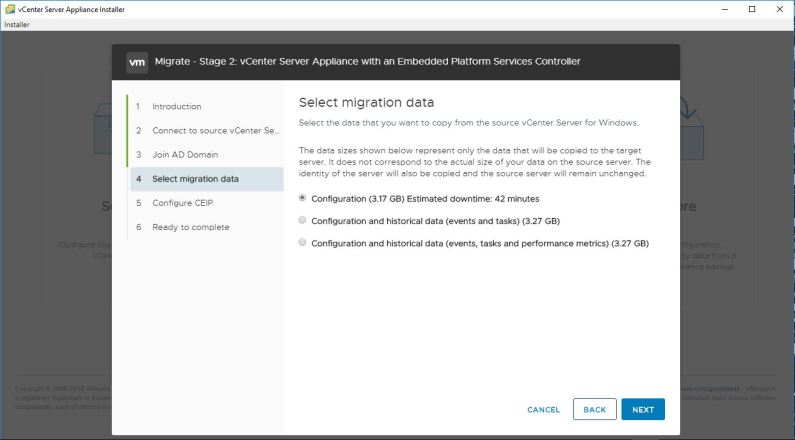
Click Next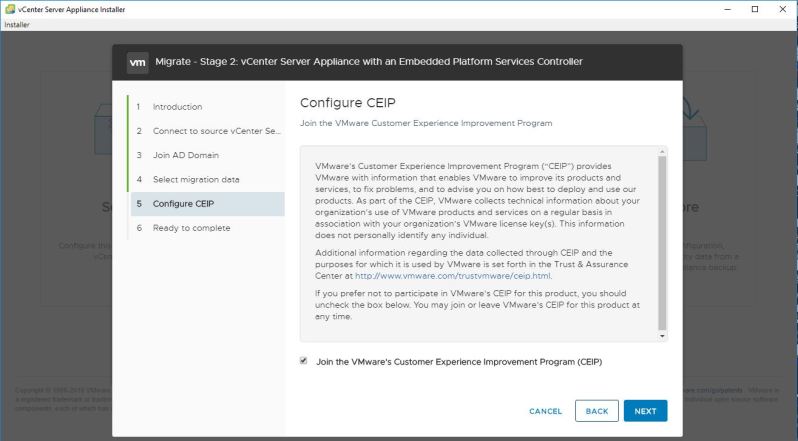
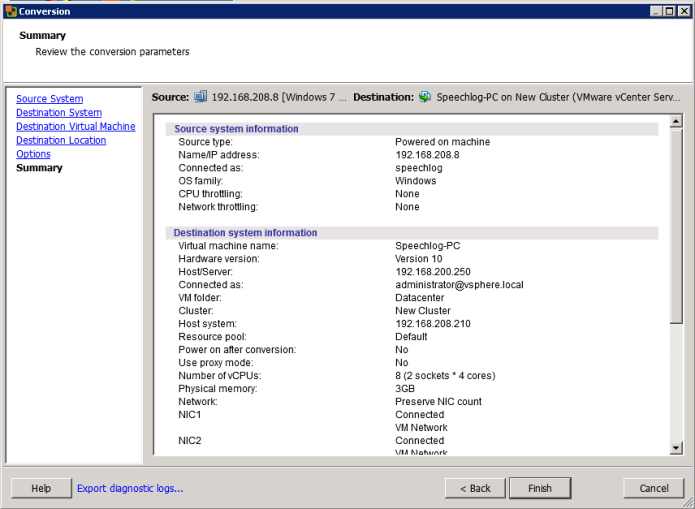
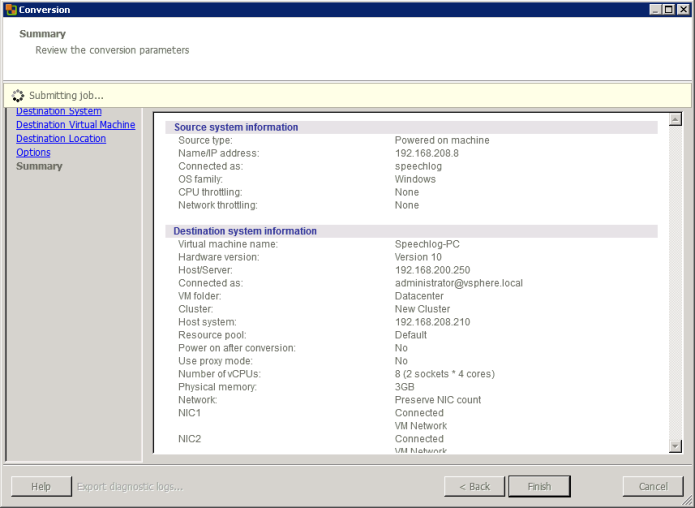
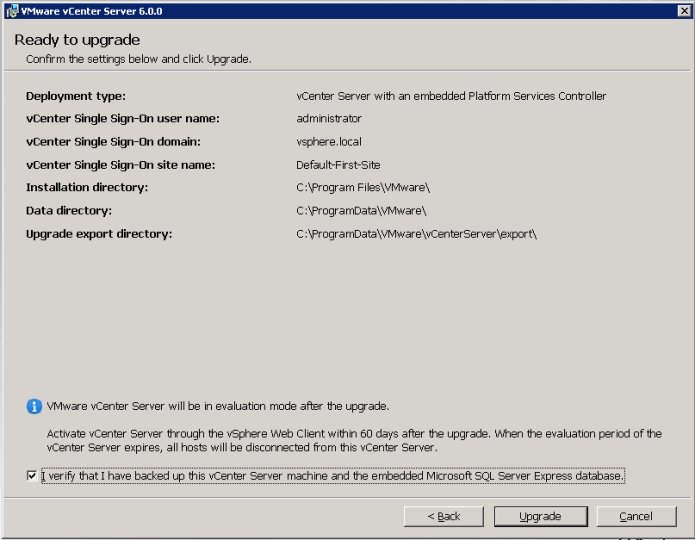
Click FINISH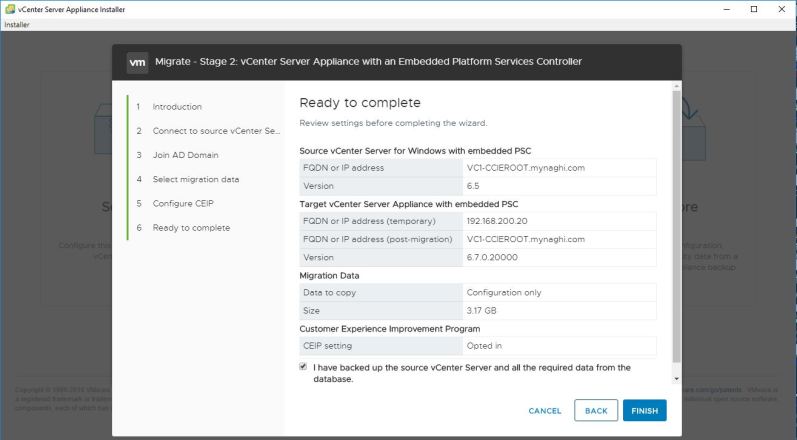
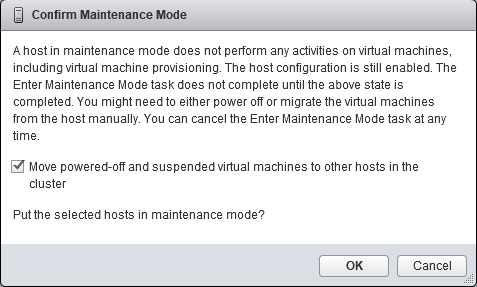
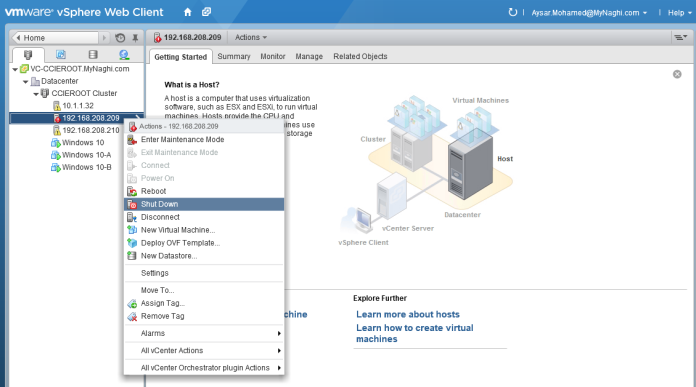
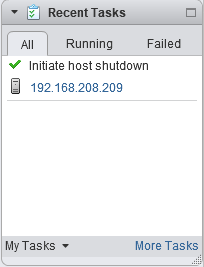
Click OK to shutdown the machine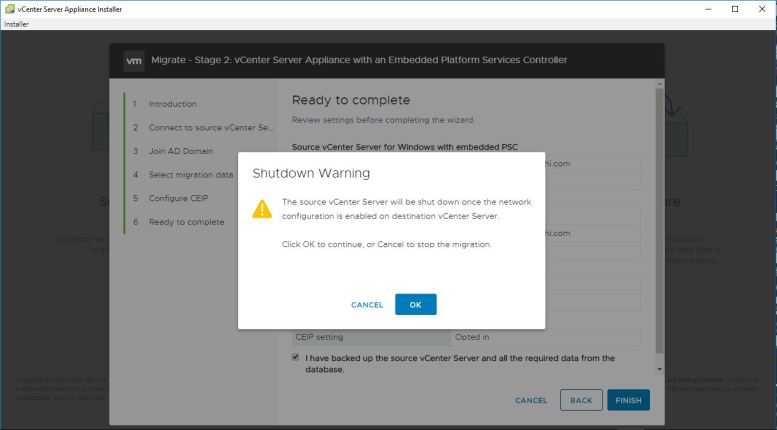
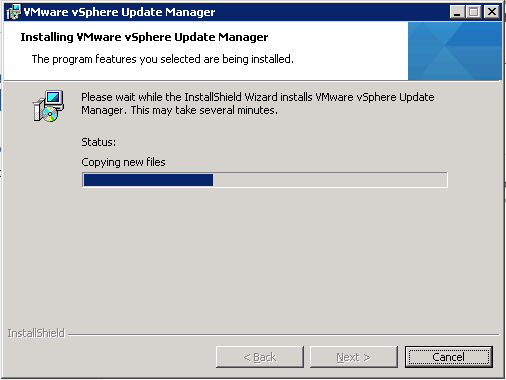
it will take coupe of minute to Start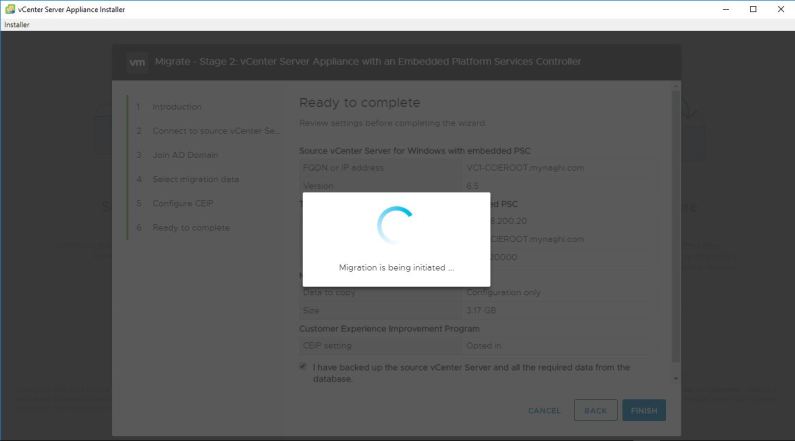
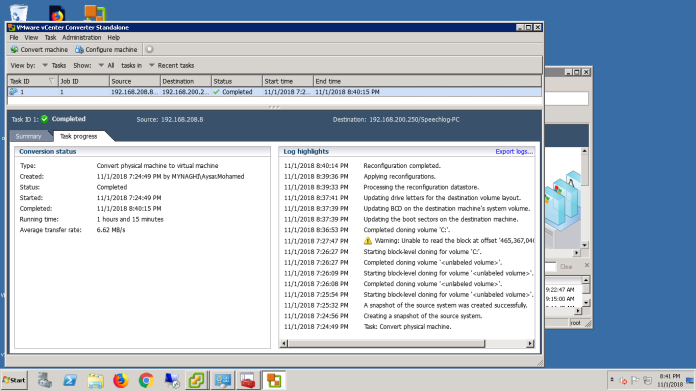
the data will be copies from the source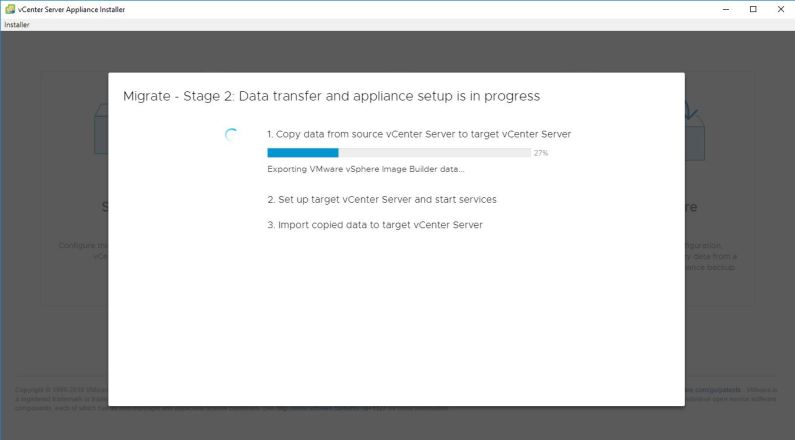
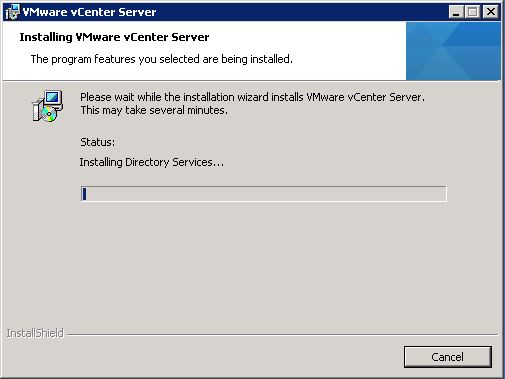
then the target machine will start the services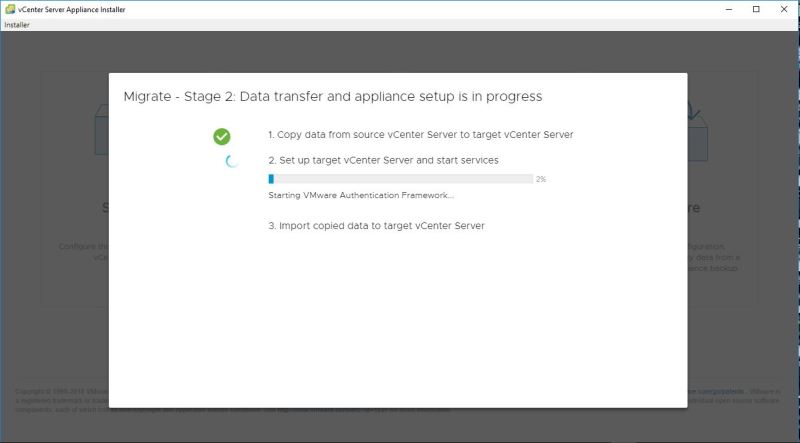
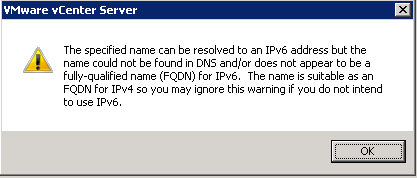
Warning messages will show up just press OK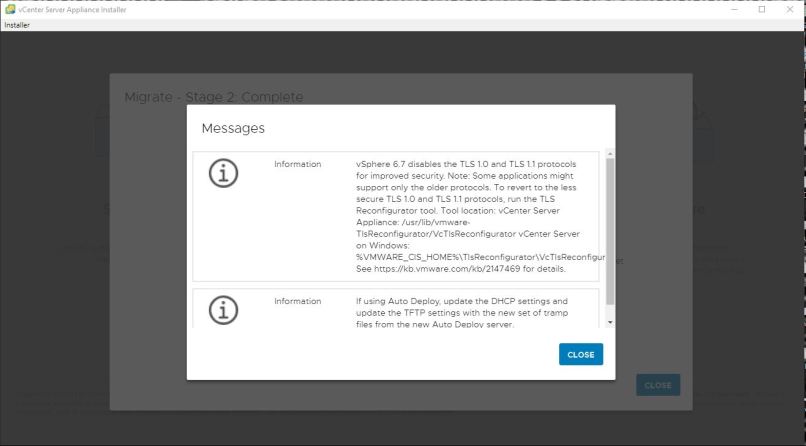
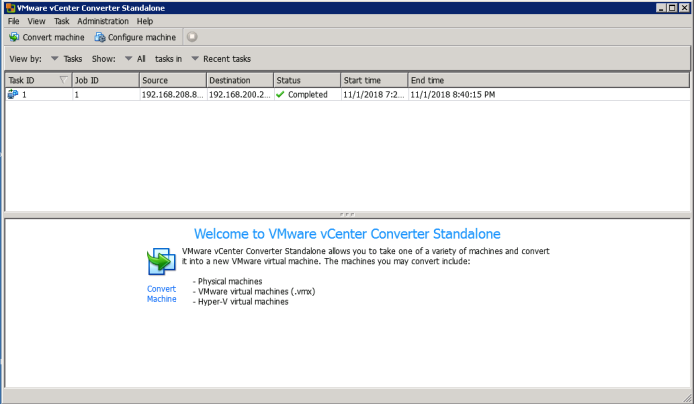
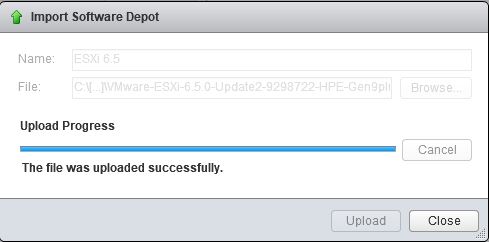
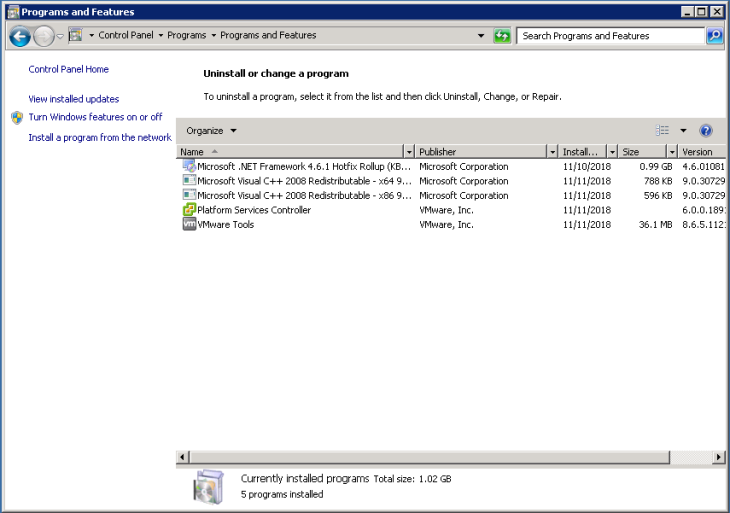
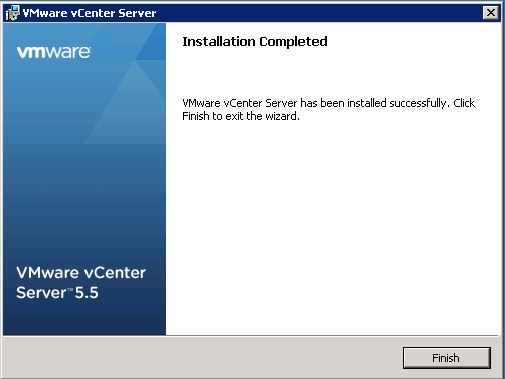
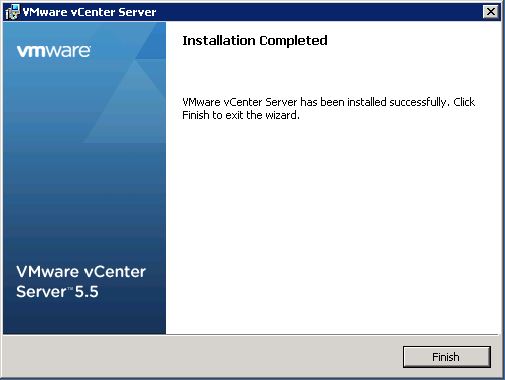
and Done
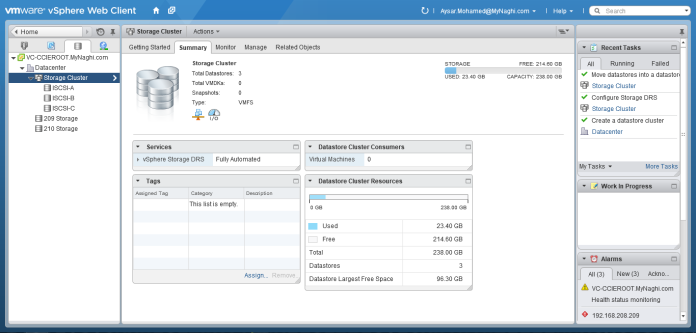
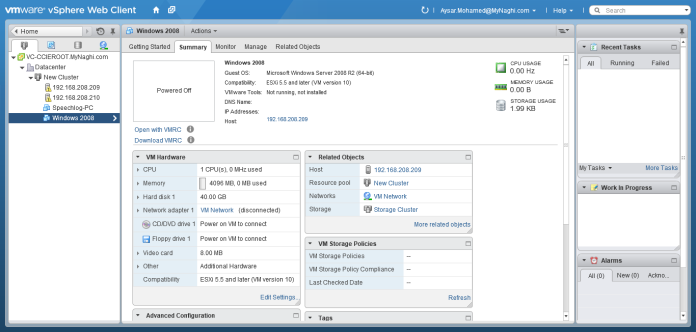
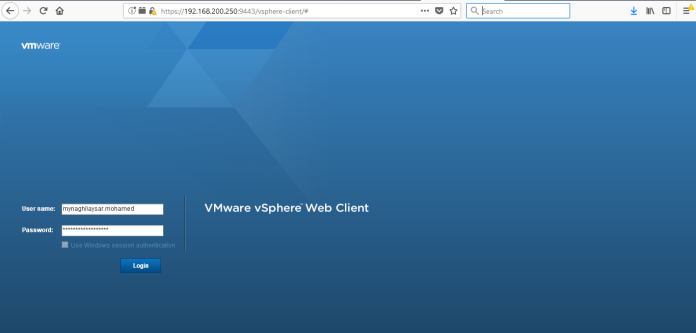
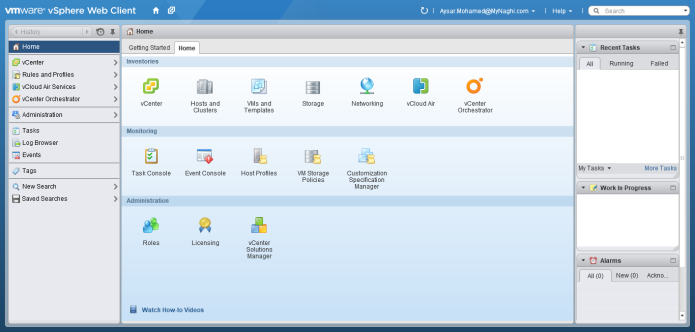
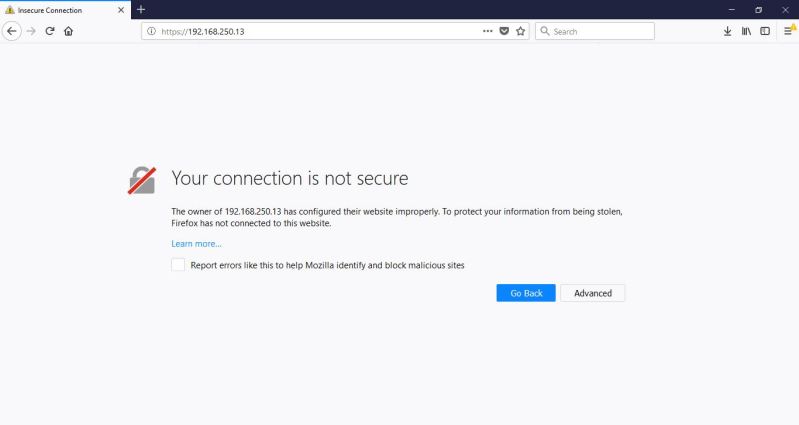
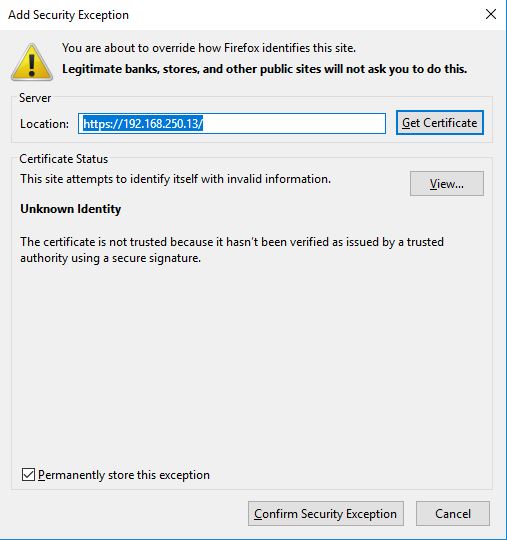
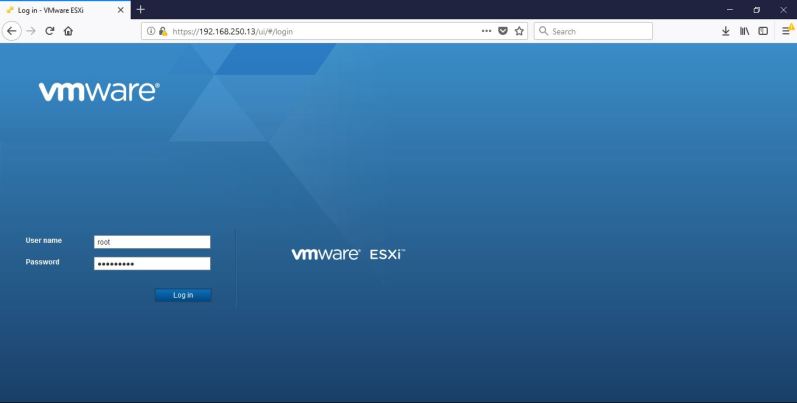
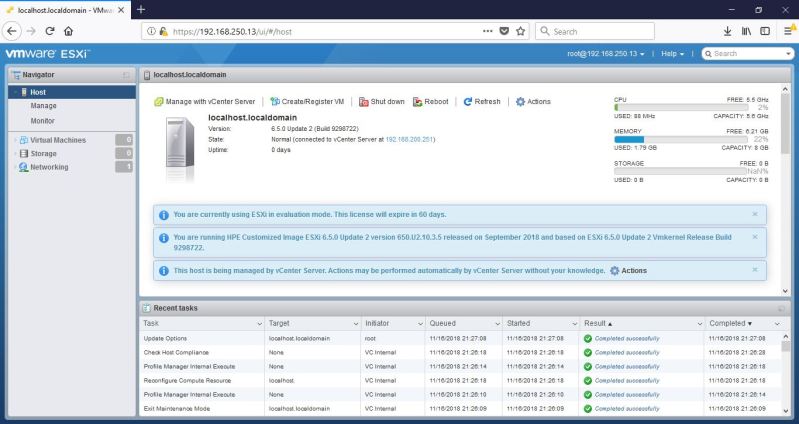
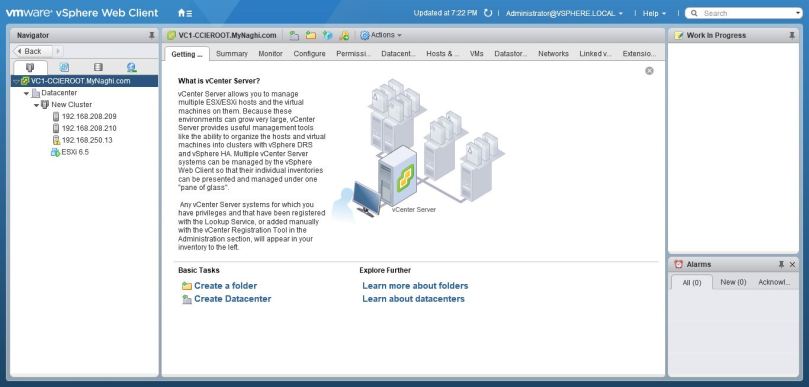
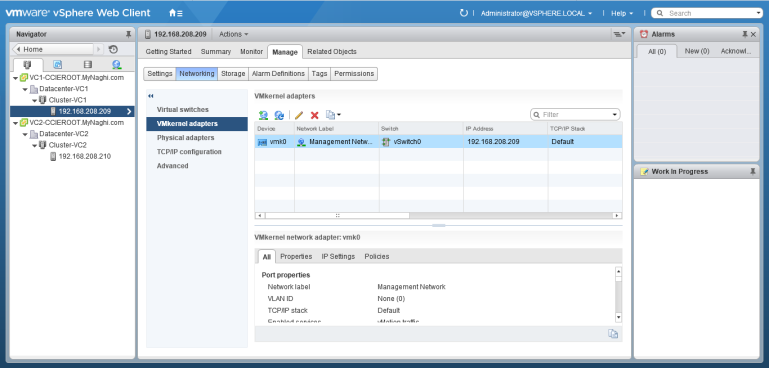
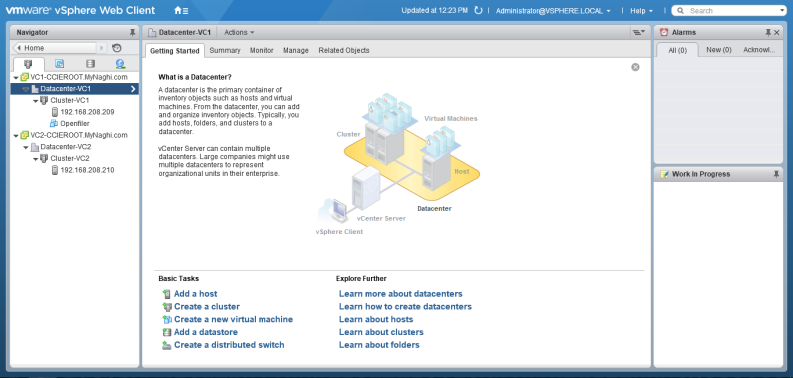
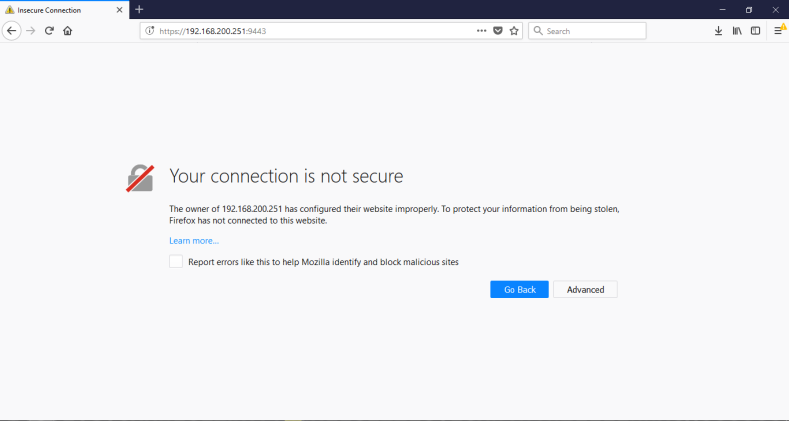
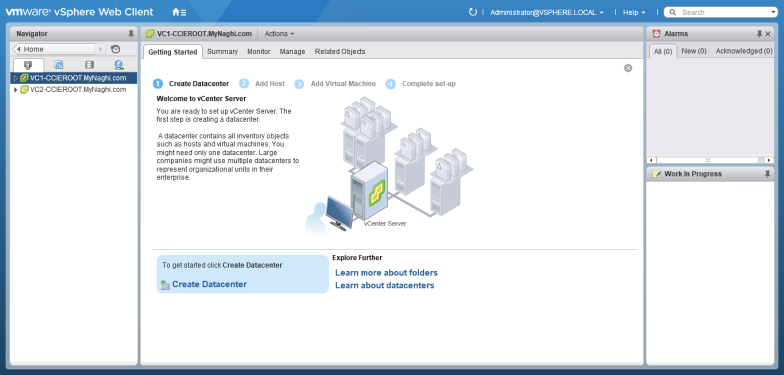
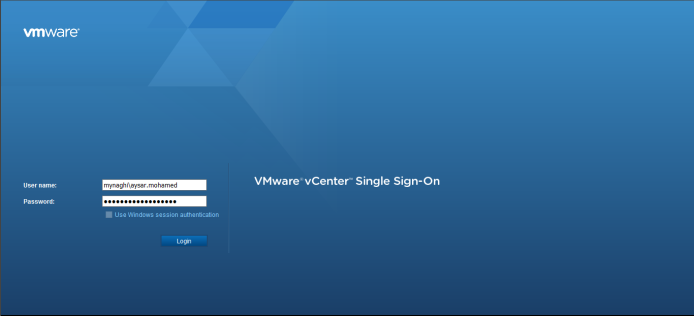
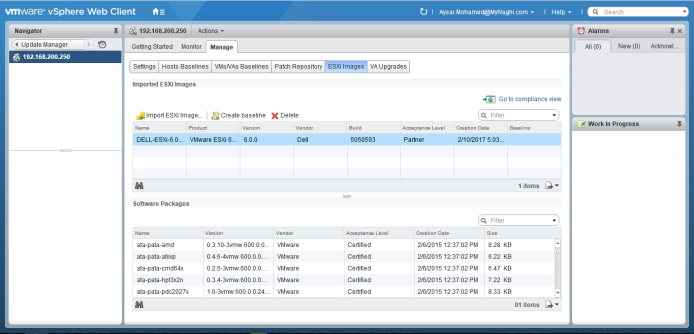
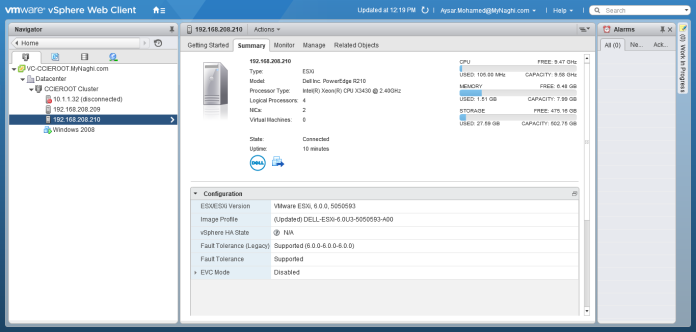
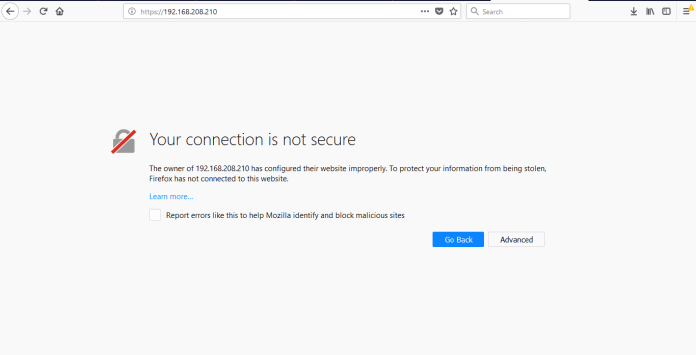
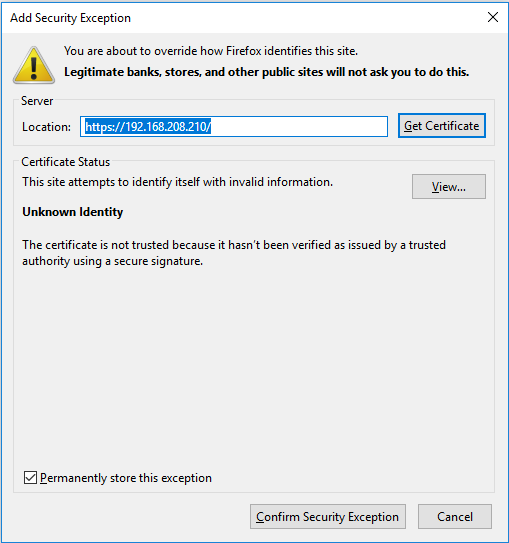
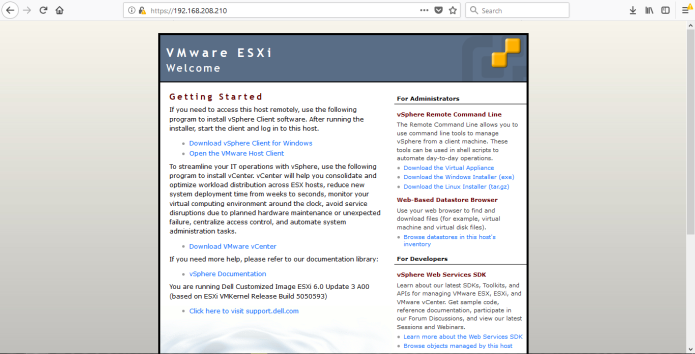
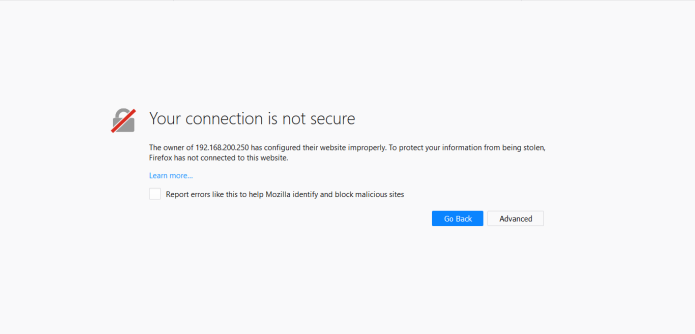
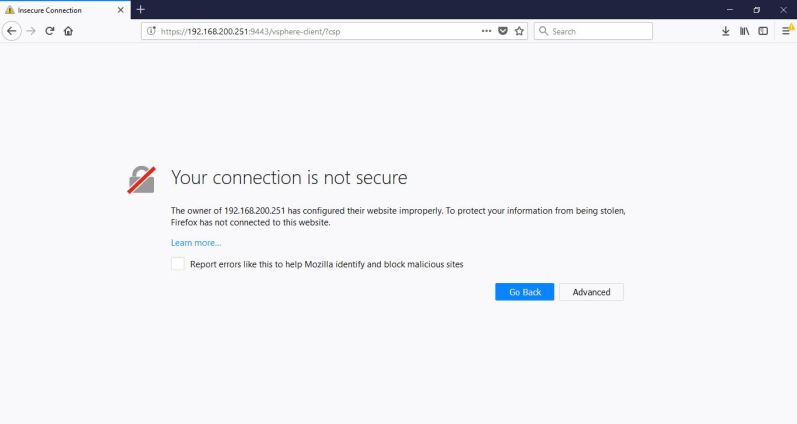
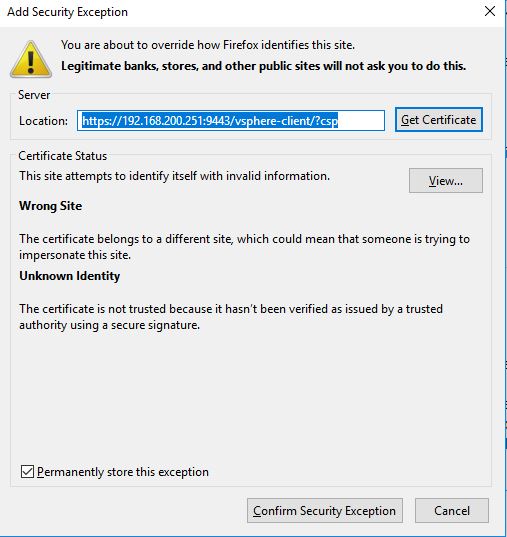
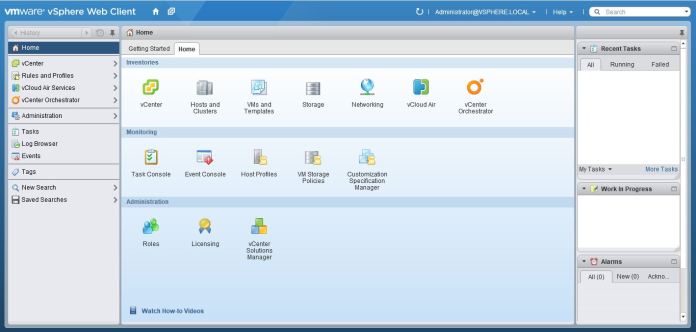
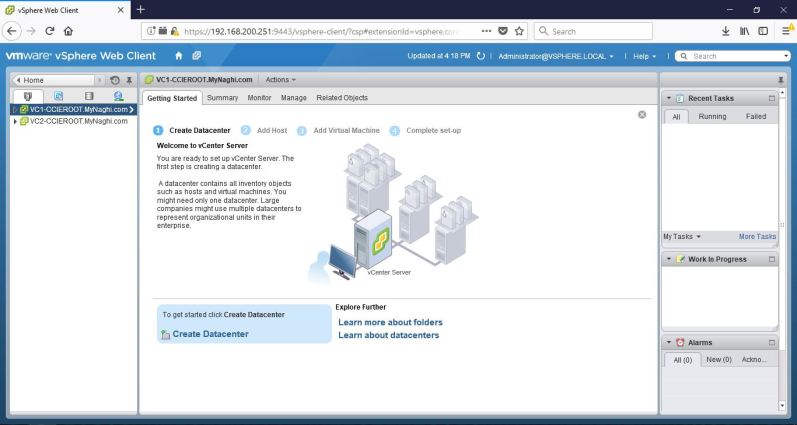
Now when i browse to the URL i will see the new machine
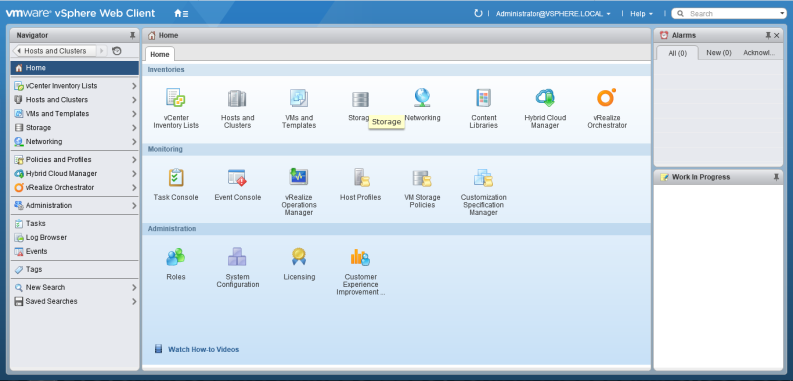
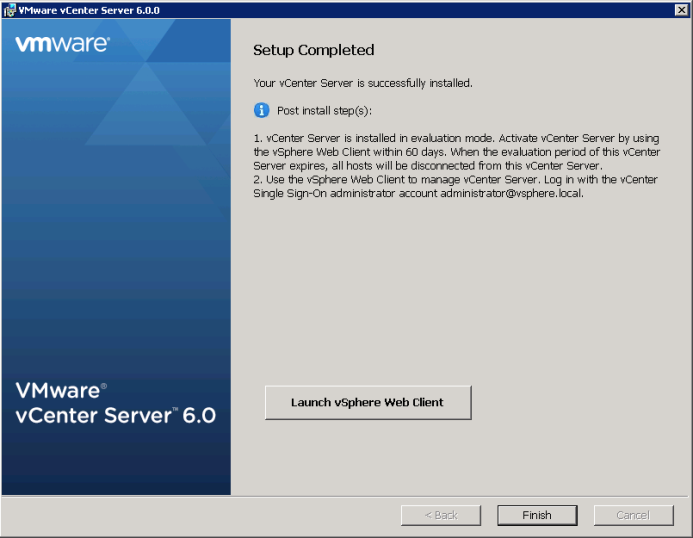
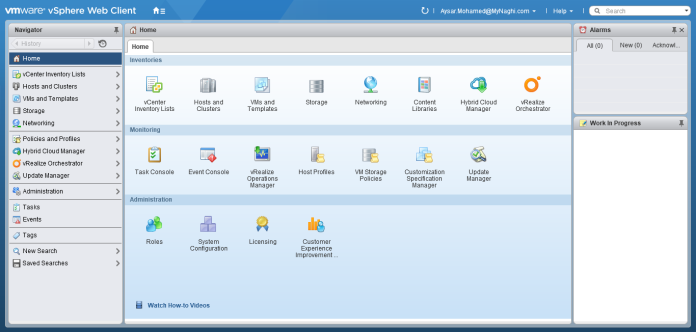
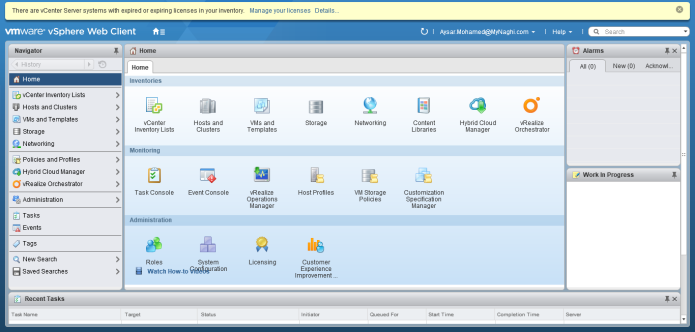
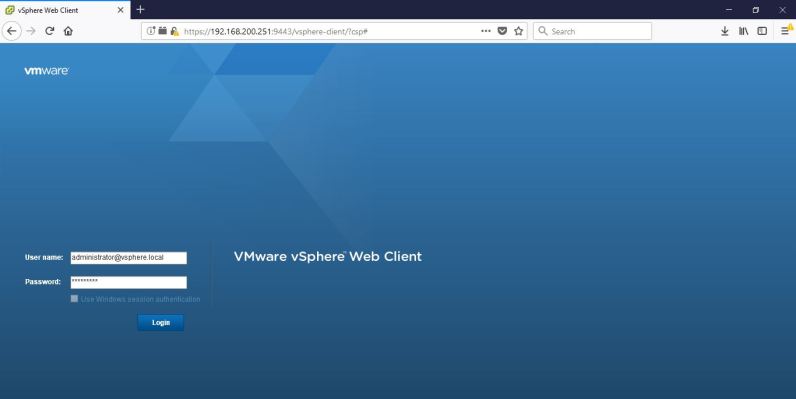
Click to Launch vSphere Client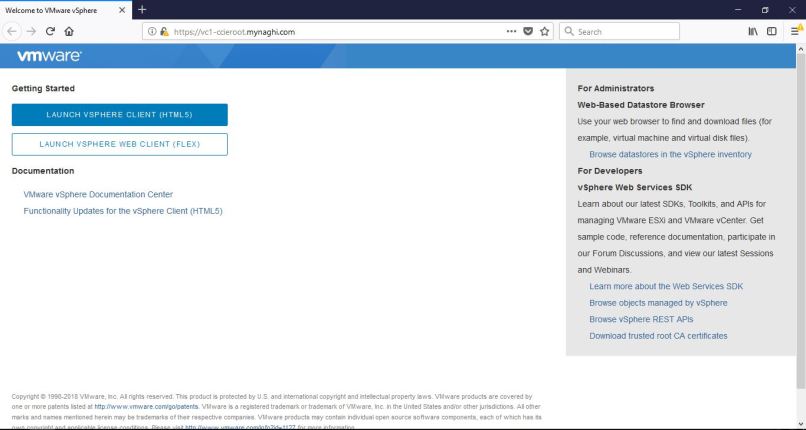
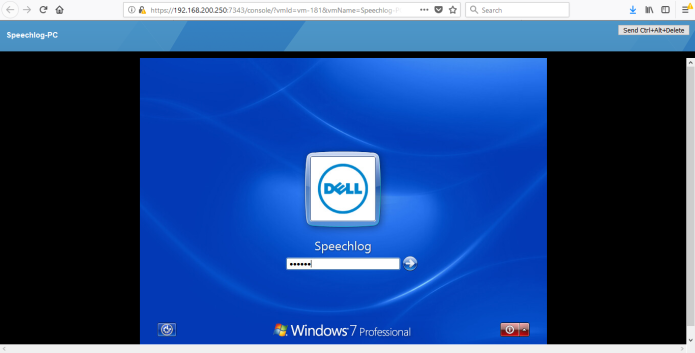
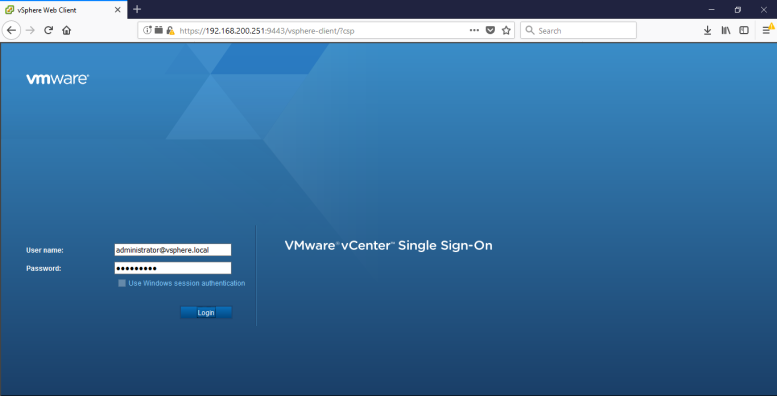
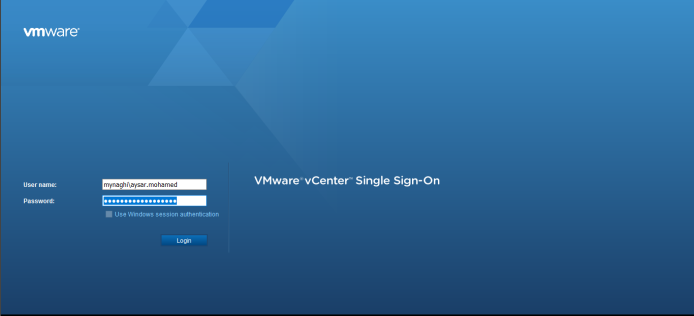
I will use same login that i used for the old vCenter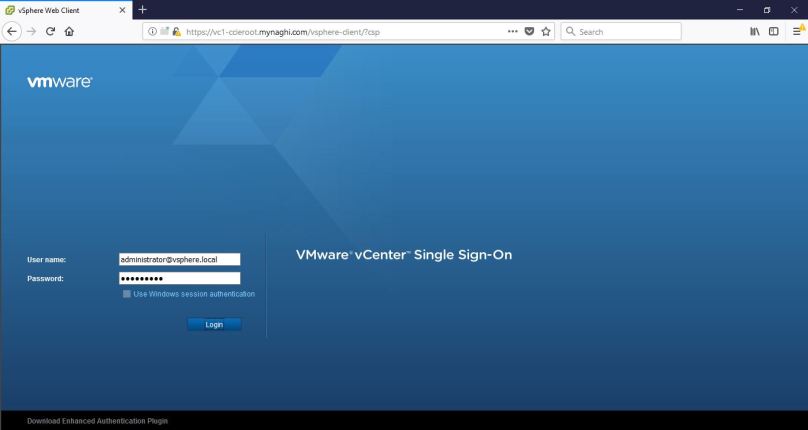
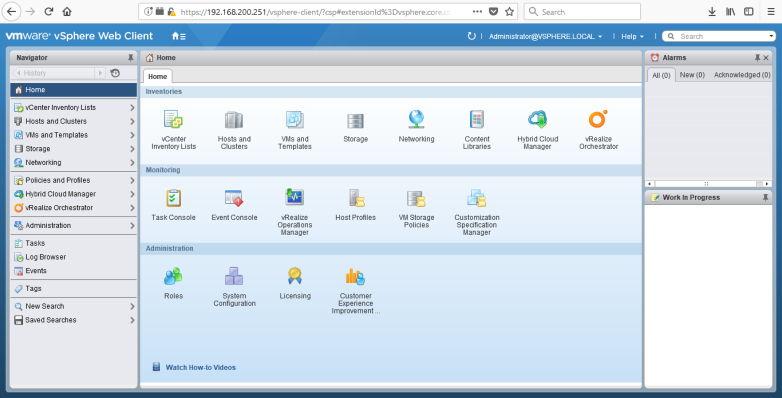
and YES it work perfectly and Happy New Year everyone


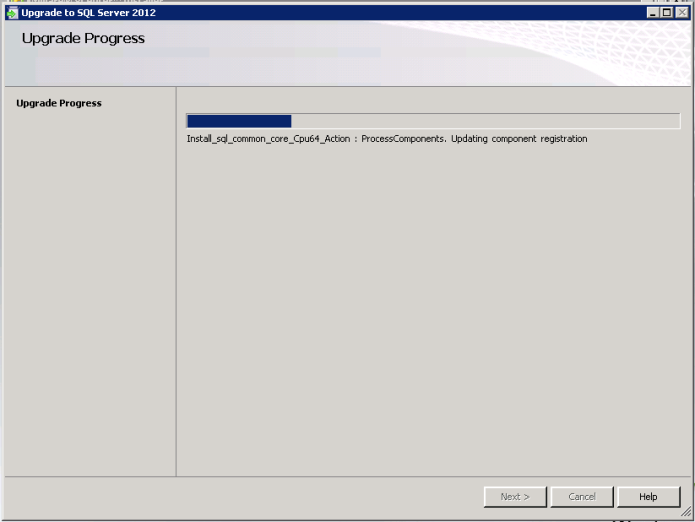


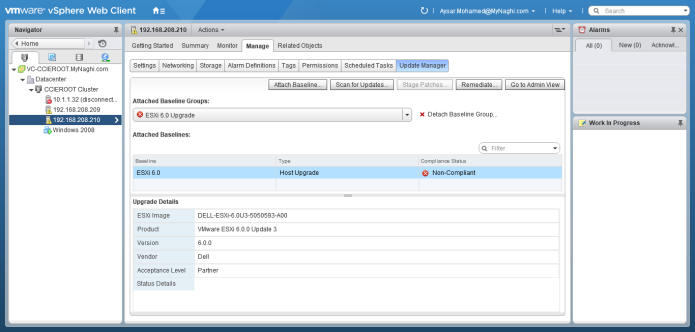
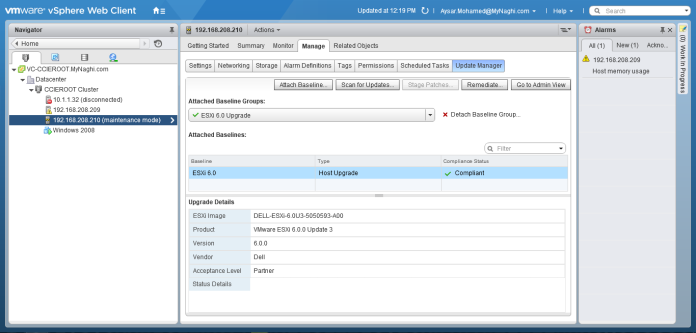

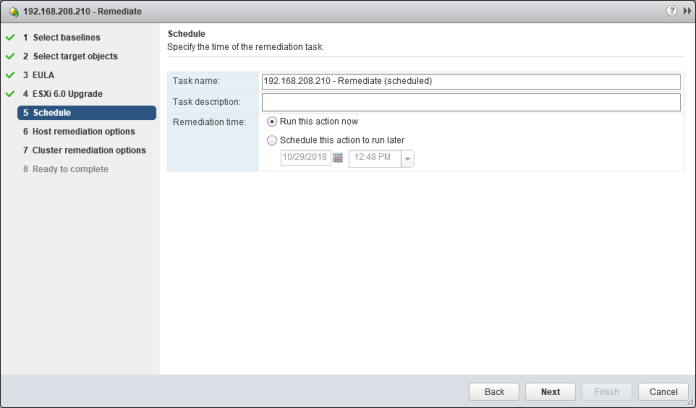
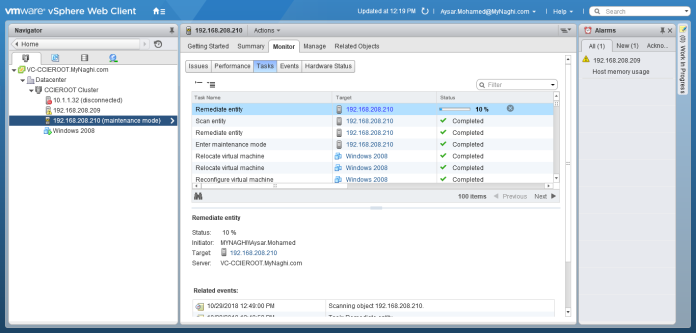


 Upgrade will take it time so no rush
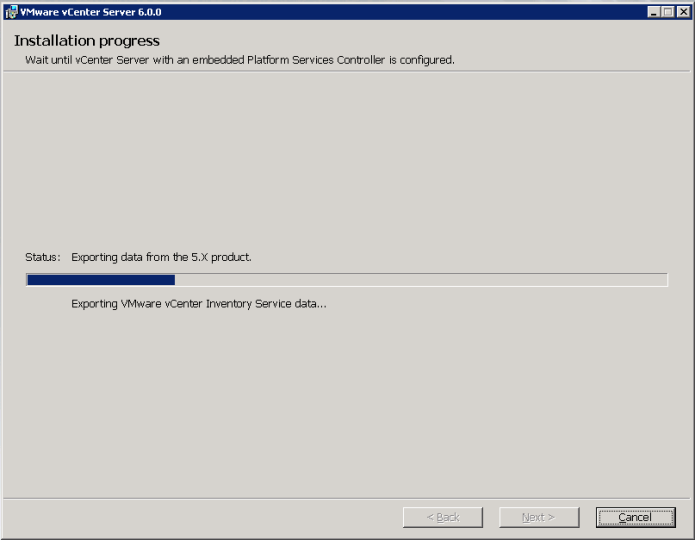


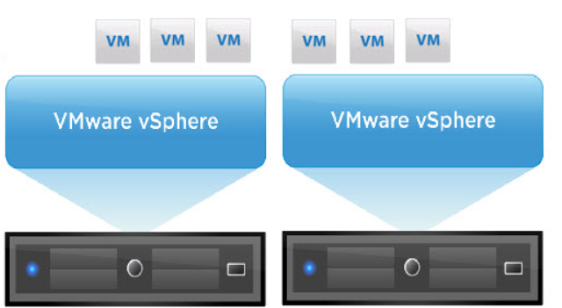
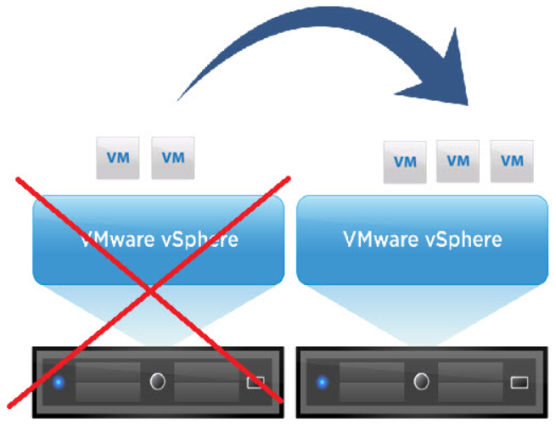
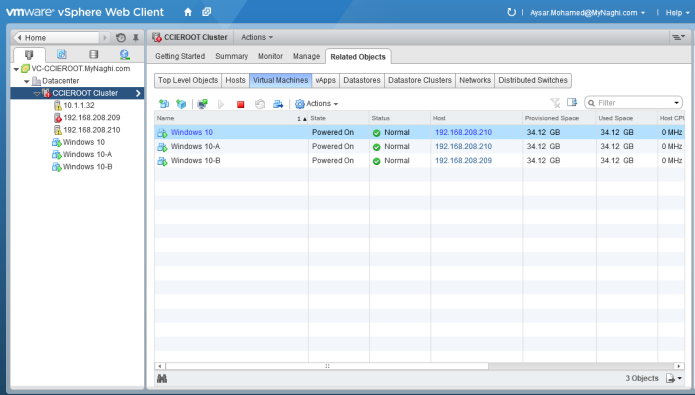
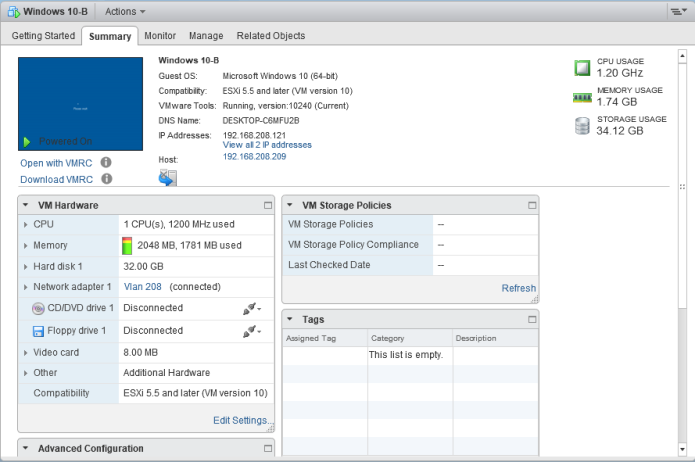

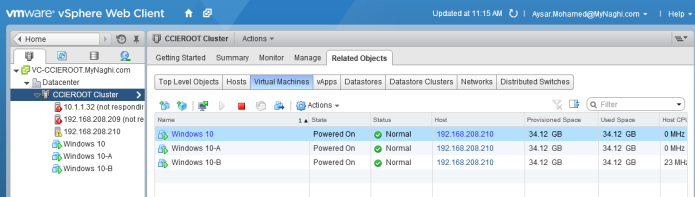
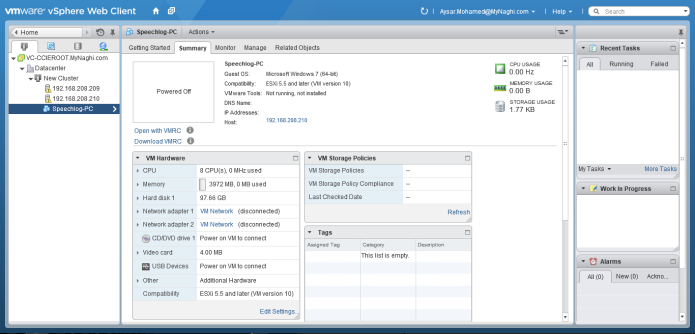
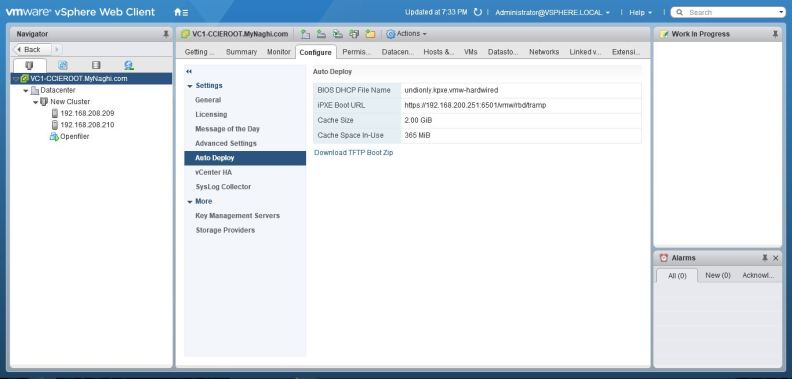
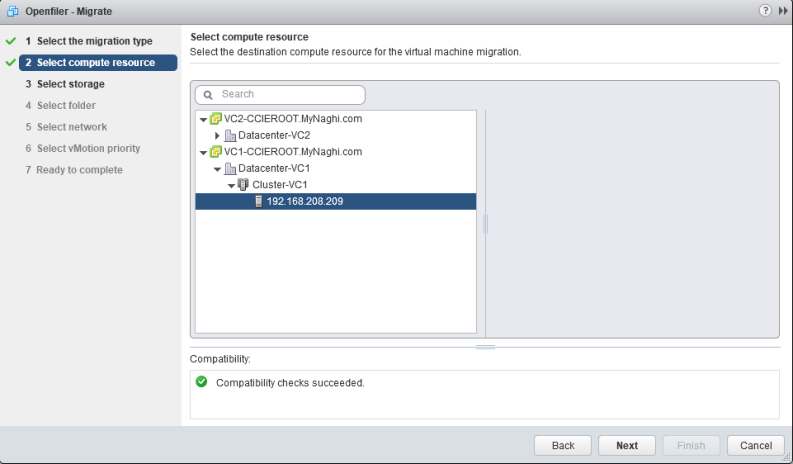
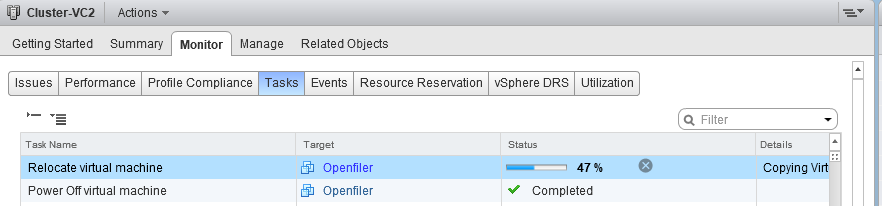
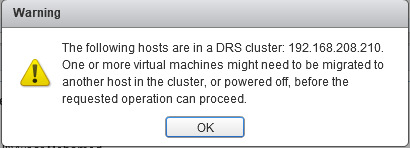
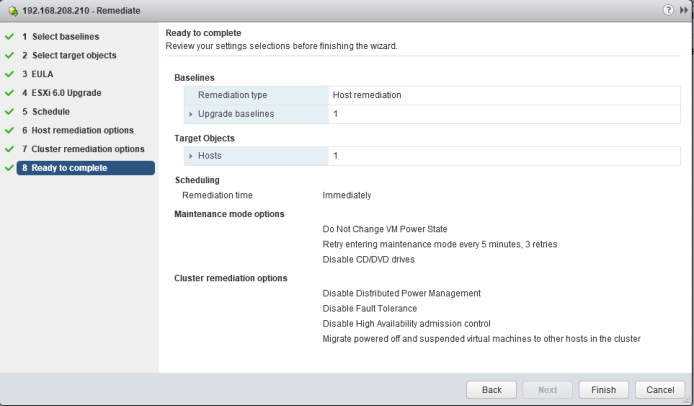
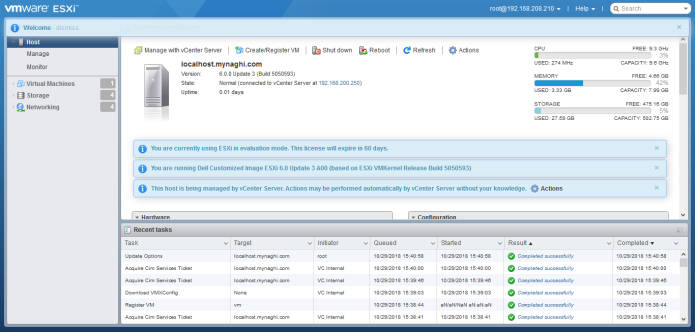
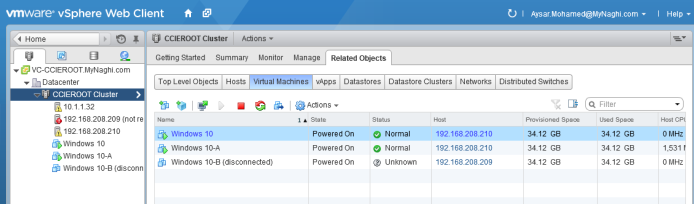 3 minute and the machine moved to the new host (192.168.208.210)